So you are used to using vRA software component properties. You therefore know how powerful they are for performing Guest OS operations during a build request. They can be seen by the user. which is the issue. That is fine if that’s the intention (such as initial password). It can be pain if you want to expose internal properties to a Guest OS.
This post explains how to be able to remove software component properties in vRA without losing the functionality they provide.
Firstly, before you remove any properties from a software component you need to remove the binding to the VM properties in the blueprint. If you don’t do this then you end up with blueprint issues down the line as the binding will still be there but hidden.
Next, edit a software component and delete all the properties you don’t want a user to be able to see.
During VM deployment the software component agent is installed/configured, as part of that all the VM properties are downloaded in a file. The file is located /opt/vmware-appdirector/agent/custom.properties on Linux & $ENV:SYSTEMDRIVE\opt\vmware-appdirector\agent\custom.properties on Windows. It is just a case of interrogating that file to pull out the values you require.
This is where my other blogs: Using jq in Bash to manage JSON content & Create a PowerShell Object from contents of a file come in handy ?
Enter the relevant below code (Bash for Linux or PowerShell for Windows) in the “Configure” life cycle action. This will process the custom.properties file so it can be used.
Bash (for Linux VMs):
########## BEGIN: Functions ##########
get_vm_properties () {
  jq -R -n '[inputs|split("=")|{(.[0]):.[1]}] | add' /opt/vmware-appdirector/agent/custom.properties > /opt/vmware-appdirector/agent/vmproperties.json
}
########## END: Functions ##########

########## BEGIN: get_vm_properties ##########
get_vm_properties
########## END: get_vm_properties ##########
PowerShell (for Windows VMs):
########## BEGIN: Functions ##########
function Get-VMProperties {
  $properties = @{}
  Get-Content $ENV:SYSTEMDRIVE\opt\vmware-appdirector\agent\custom.properties | ForEach-Object {
    $property = $_ -Split "=", 2
    $properties.Add($property[0], $property[1])
  }
  return $properties
}
########## END: Functions ##########

########## BEGIN: Get-VMProperties ##########
$vmproperties = Get-VMProperties
########## END: Get-VMProperties ##########
You can now use the VM property values (from the file) in your scripts. Enter the relevant below example code (Bash for Linux or PowerShell for Windows) in the “Configure” life cycle action.
Bash (for Linux VMs):
Using $(cat /opt/vmware-appdirector/agent/vmproperties.json | jq -r '."{propertyname}"') where {propertyname} is the name of a VM property will substitute with the property value, for example:
########## BEGIN: Configure Backup ##########
if [ $(cat /opt/vmware-appdirector/agent/vmproperties.json | jq -r '."backup"') == "true" ]
then
  bkserv=($(cat /opt/vmware-appdirector/agent/vmproperties.json | jq -r '."backupserver"'))
  perl /opt/backup/bin/config.pl --server=$bkserv &> /dev/null
  echo "Configured Backups"
fi
########## END: Configure Backup ##########
PowerShell (for Windows VMs):
Using $vmproperties.{propertyname} where {propertyname} is the name of a VM property will substitute with the property value, for example:
########## BEGIN: Configure NIC Name ##########
$nicmac = $vmproperties."virtualmachine.network0.macaddress" -Replace ":", "-"
$nicnetwork = ($vmproperties."virtualmachine.network0.name")
Get-NetAdapter | Where {$_.MacAddress -eq $nicmac} | Rename-NetAdapter -NewName $nicnetwork
Write-Output "Set NIC Name"
########## END: Configure NIC Name ##########
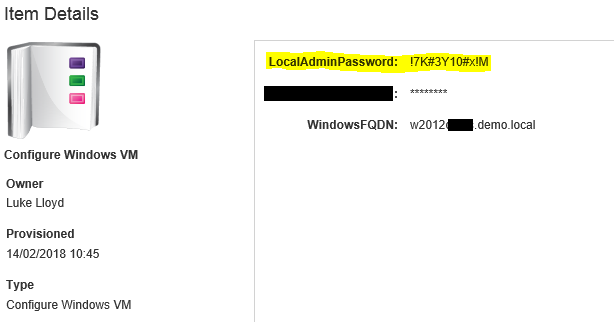
During VM deployment the relevant software component script will run using the properties as you need. The software component screen remains blank or just has the values you want users to see.
Be First to Comment