This blog post is part of the Install vRealize Automation 8 using vRLCM series and focuses on the install of vRealize Lifecycle Manager (vRLCM).
vRA8 simplifies the application stack versus vRA7 by doing away with the Windows IaaS components in place of a self contained appliance. While this is true it does add it's own complexity.

vIDM (VMware Identity Manager) is embedded in vRA 7 appliance, which when vRA is clustered automatically clusters vIDM.

In vRA8 it is a separate appliance, there is no point clustering vRA8 appliances and leaving vIDM as a single appliance so this should also be clustered. To do so is where the extra complication comes in. Multiple vIDM appliances must be configured with a load balancer in front.
I started off installing vRLCM 8.0 but part way through upgraded it to vRLCM 8.1. You may notice some differences in the screenshots but the process remains the same for both versions.

Check out the vRLCM 8.0 release notes, especially the known issues which details the removal of a file otherwise services may not start post reboot.

Check out the vRLCM 8.1 release notes too. One of the benefits of vRLCM 8.1 over 8.0 is the ability to change the vRLCM certificate in the GUI. Despite VMware's vRLCM 8.1 docs detailing the old method.
vRLCM Install
Estimated Time: 30 minutes
This post provides the step by step instructions needed to install vRealize Lifecycle Manager (vRLCM) which is required for vIDM and vRA.
- Download ISO
Download the “vra-lcm-installer” ISO from VMware, once downloaded mount it.
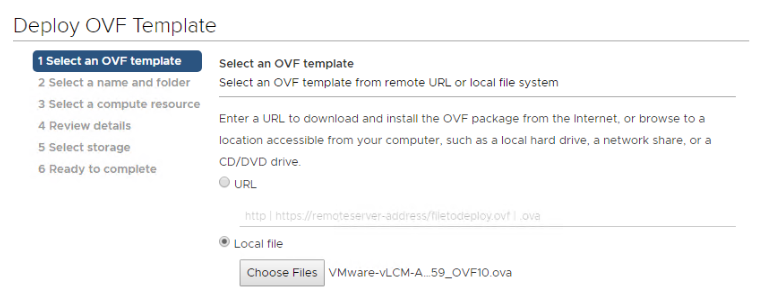
- Deploy OVF Template – ova file
Start the “Deploy OVF Template” wizard in vCenter. Browse to the vRLCM ova file in the mounted ISO.
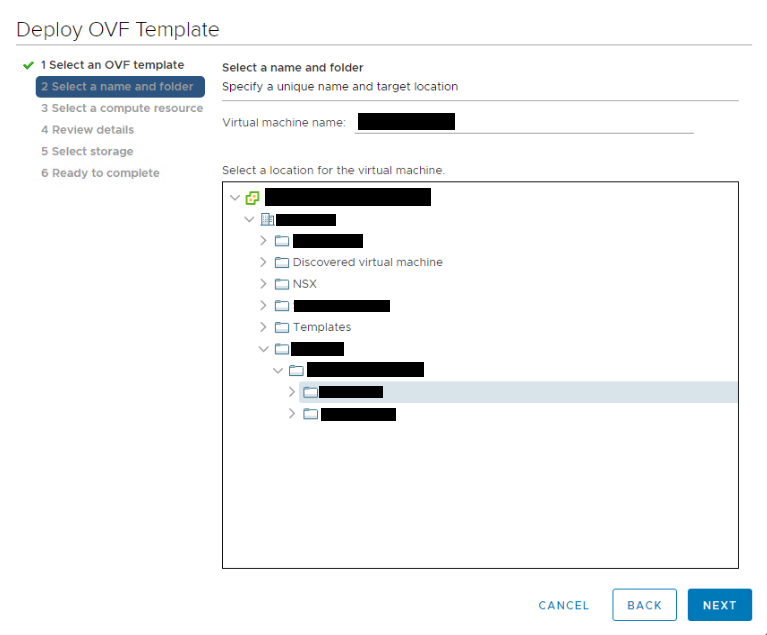
- Deploy OVF Template – VM name
Select a location for the vRLCM VM and provide a name.
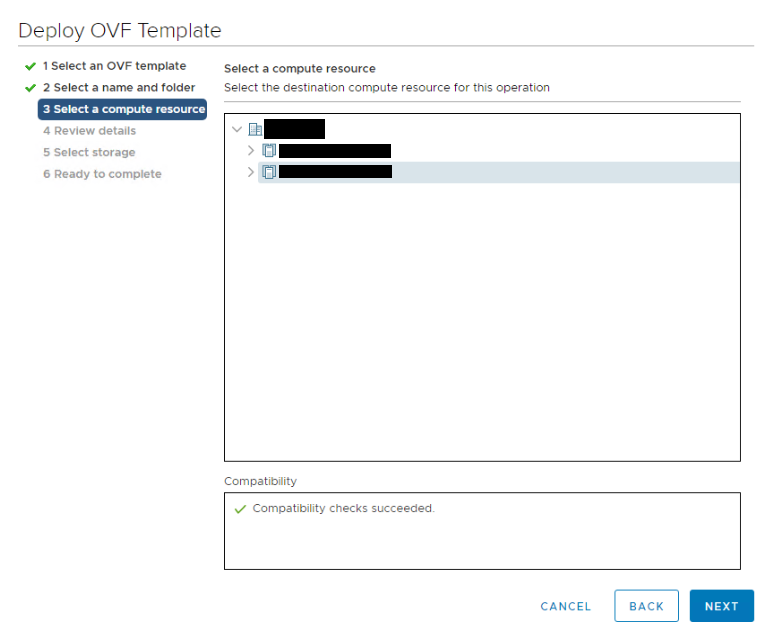
- Deploy OVF Template – Compute
Select a cluster or host for the vRLCM VM.
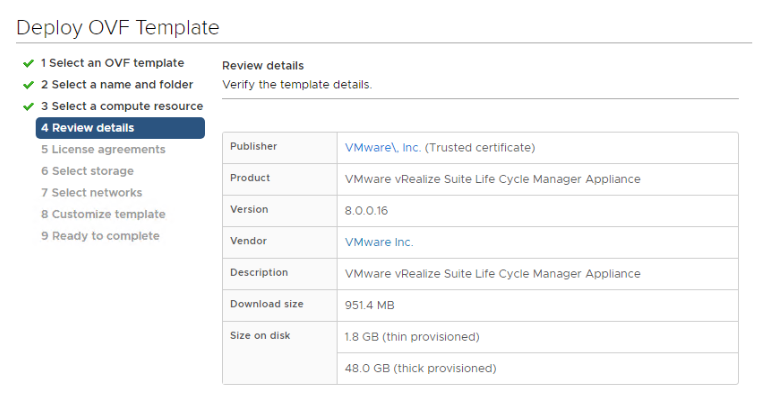
- Deploy OVF Template – Review
Review and accept the ova details.
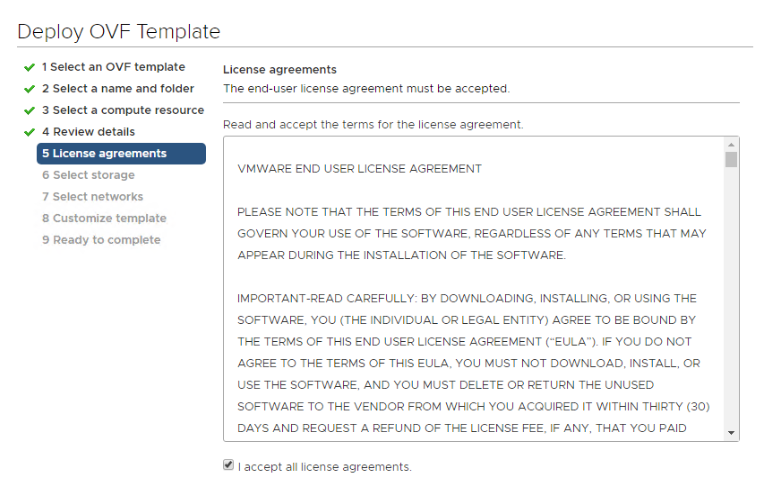
- Deploy OVF Template – License
Accept the ova license agreement.
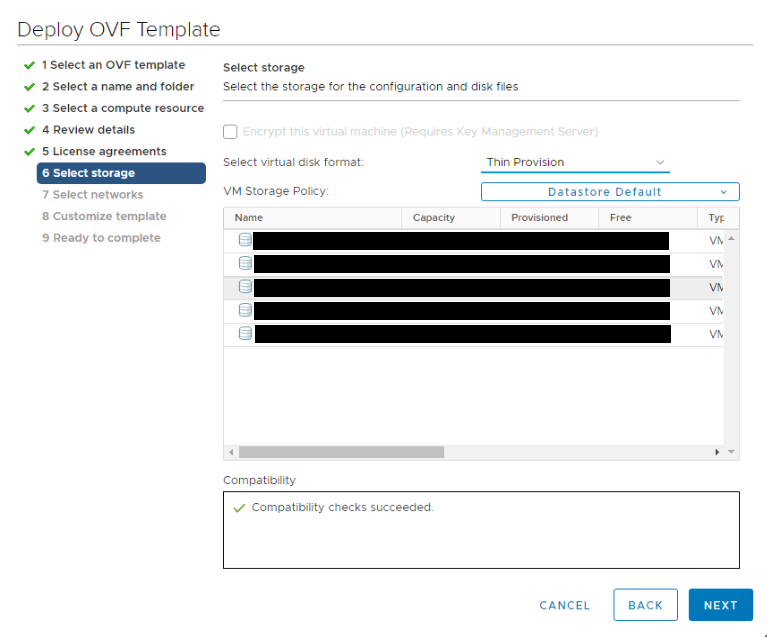
- Deploy OVF Template – Storage
Select a datastore for the vRLCM VM. Use whatever disk format you want but it is generally best to use “Thin Provision”.
- Deploy OVF Template – Network
Select a network for the vRLCM VM.

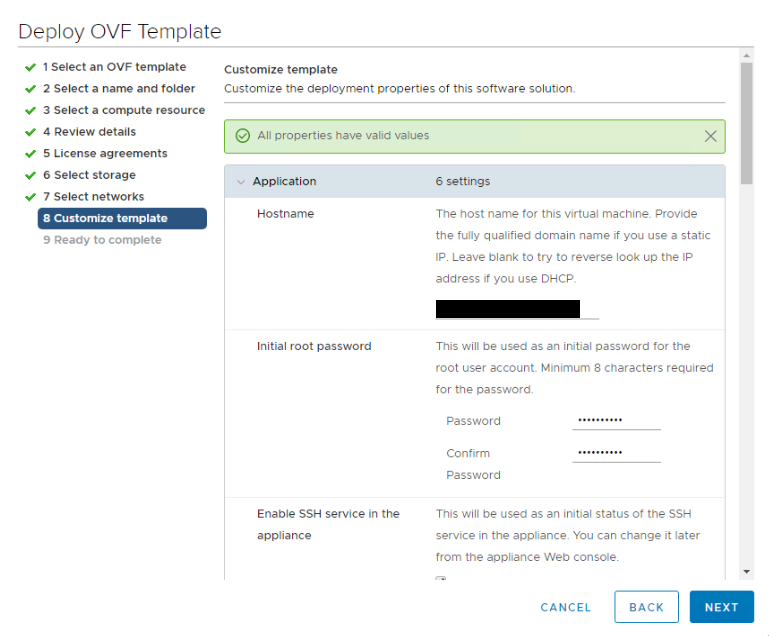
- Deploy OVF Template – Customize
Enter values for all the required settings including hostname, password, IP address, DNS, NTP and (initial) certificate configuration.
- Deploy OVF Template – Complete
Check all the settings and when ready press “Finish” to deploy the ova.

- Login to vRLCM
Once the VM has been deployed access the vRLCM URL:
https://{IP}/vrlcm/orhttps://{FQDN}/vrlcm/
The username isadmin@local. Initial password isvmwareand will prompt to be changed.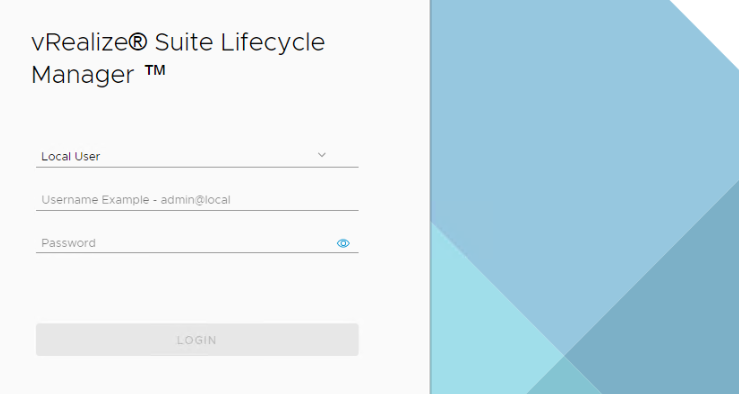
Be First to Comment