This blog post is part of the Install vRealize Automation 8 using vRLCM series and focuses on the configure of vRealize Lifecycle Manager (vRLCM).
vRA8 simplifies the application stack versus vRA7 by doing away with the Windows IaaS components in place of a self contained appliance. While this is true it does add it's own complexity.

vIDM (VMware Identity Manager) is embedded in vRA 7 appliance, which when vRA is clustered automatically clusters vIDM.

In vRA8 it is a separate appliance, there is no point clustering vRA8 appliances and leaving vIDM as a single appliance so this should also be clustered. To do so is where the extra complication comes in. Multiple vIDM appliances must be configured with a load balancer in front.
I started off installing vRLCM 8.0 but part way through upgraded it to vRLCM 8.1. You may notice some differences in the screenshots but the process remains the same for both versions.

Check out the vRLCM 8.0 release notes, especially the known issues which details the removal of a file otherwise services may not start post reboot.

Check out the vRLCM 8.1 release notes too. One of the benefits of vRLCM 8.1 over 8.0 is the ability to change the vRLCM certificate in the GUI. Despite VMware's vRLCM 8.1 docs detailing the old method.
vRLCM Configure
Estimated Time: 15 minutes.
This post provides the step by step instructions needed to configure vRealize Lifecycle Manager (vRLCM) for the vIDM and vRA installations.
- Navigate to Datacenters
Navigate to Lifecycle Operations > Datacenters.
Click “Add Datacenter”.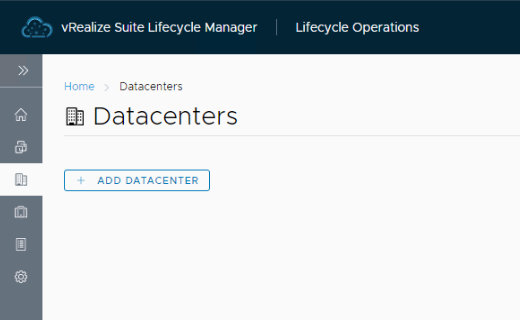
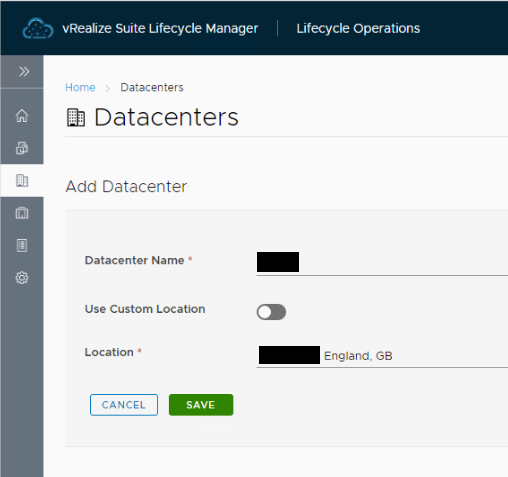
- Datacenters – Add Datacenter
Populate your Datacenter name and location.
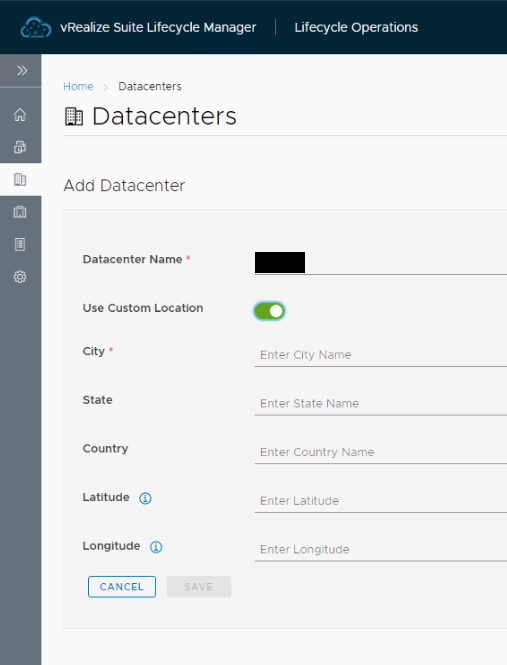
- Datacenters – Custom Location
If your location isn’t available select to “Use Custom Location”. Then provide details including Latitude and Longitude.
- Datacenters – List
Datacenter will be listed once saved.
Click “Add vCenter”.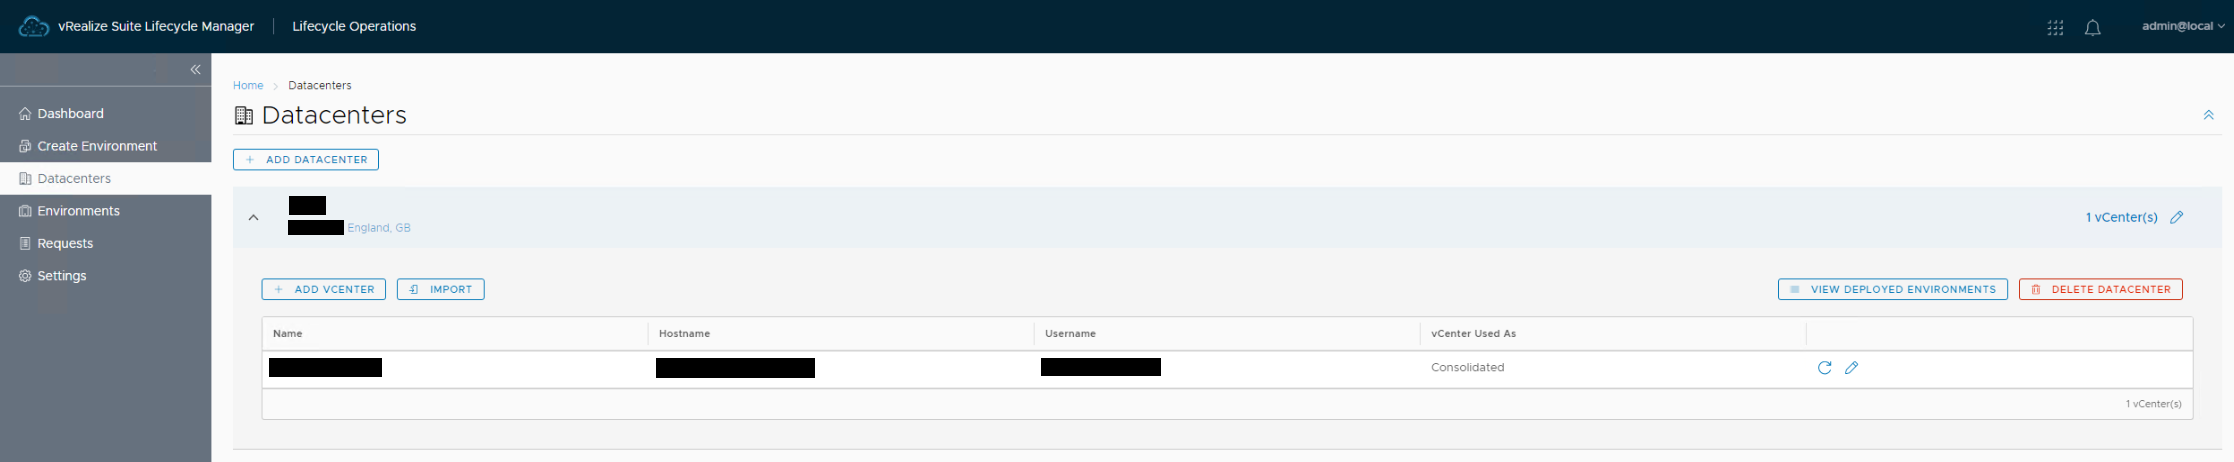
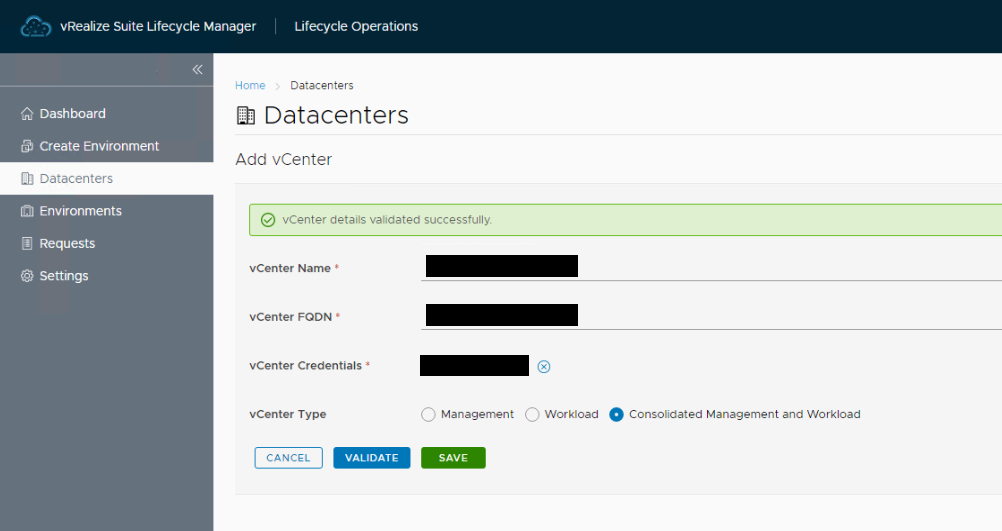
- Datacenters – Add vCenter
Populate your vCenter information. “Validate” and “Save”.
- Navigate to My VMware
Navigate to Lifecycle Operations > Settings > My VMware.
Click “Add My VMware account”.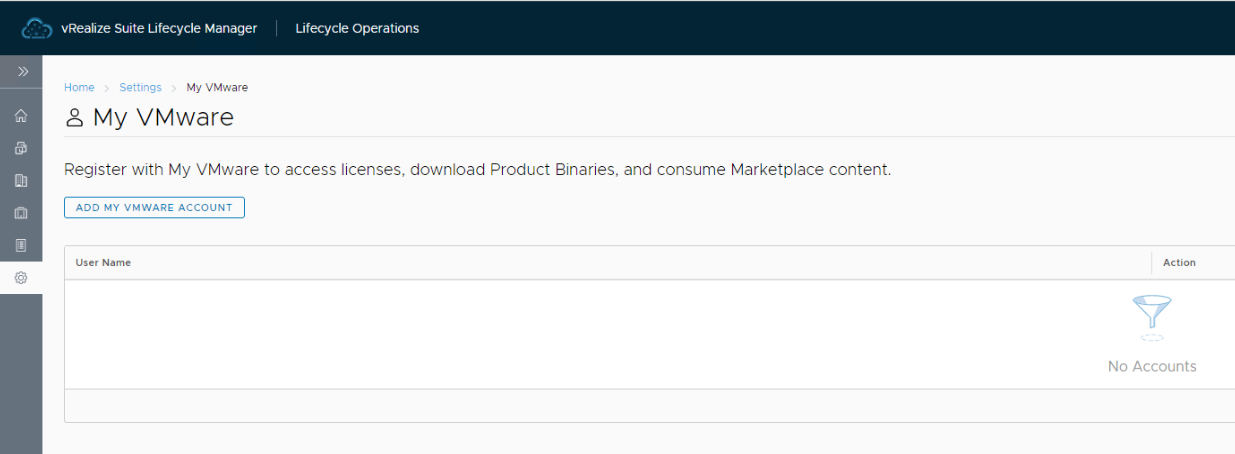
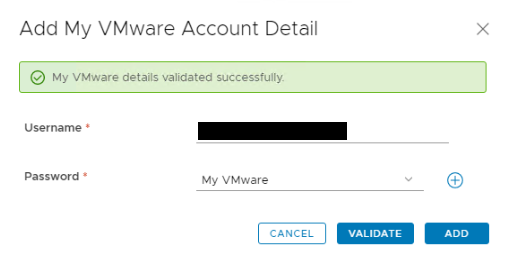
- My VMware – Add
Click “+” to create password configuration. Once created populate the username then “Validate” and “Add”.
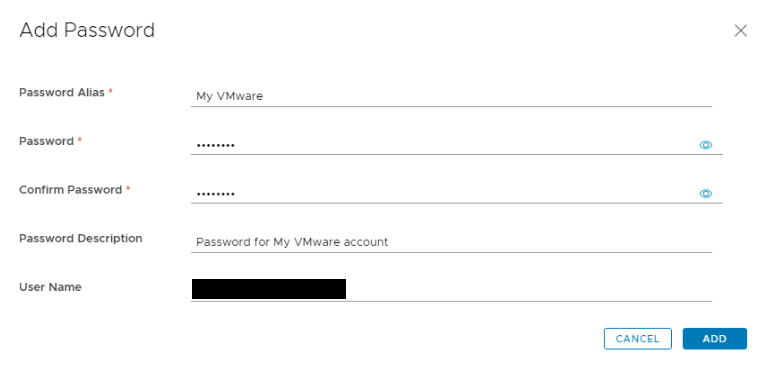
- My VMware – Password
Populate details to add password configuration.
- My VMware – List
My VMware account will be listed.

- Navigate to Binary Mapping
Navigate to Lifecycle Operations > Settings > Binary Mapping.
Click “Add Binaries”.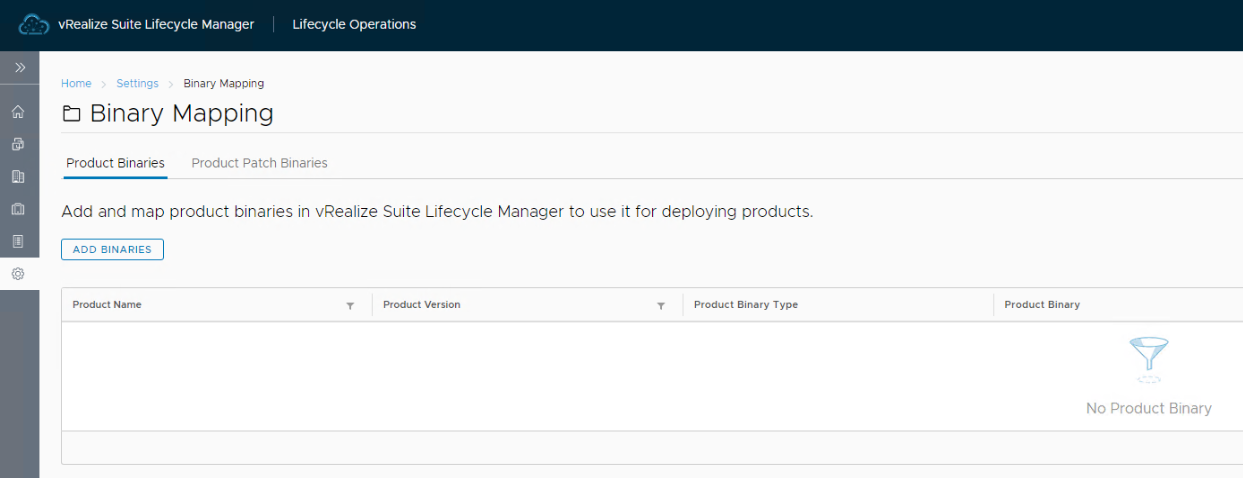
- Binary Mapping – Add
Select “My VMware” location type and click “Discover”.
A list of your entitled products will be populated in the list. Tick the relevant install products. Make sure you have VMware Identity Manager and vRealize Automation products ticked.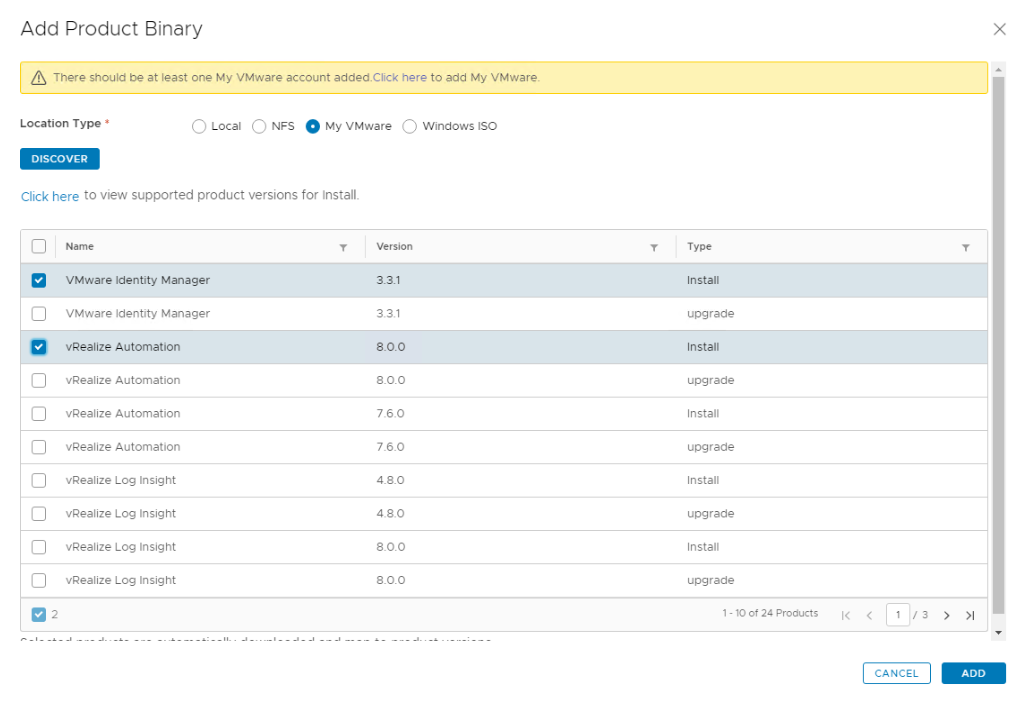
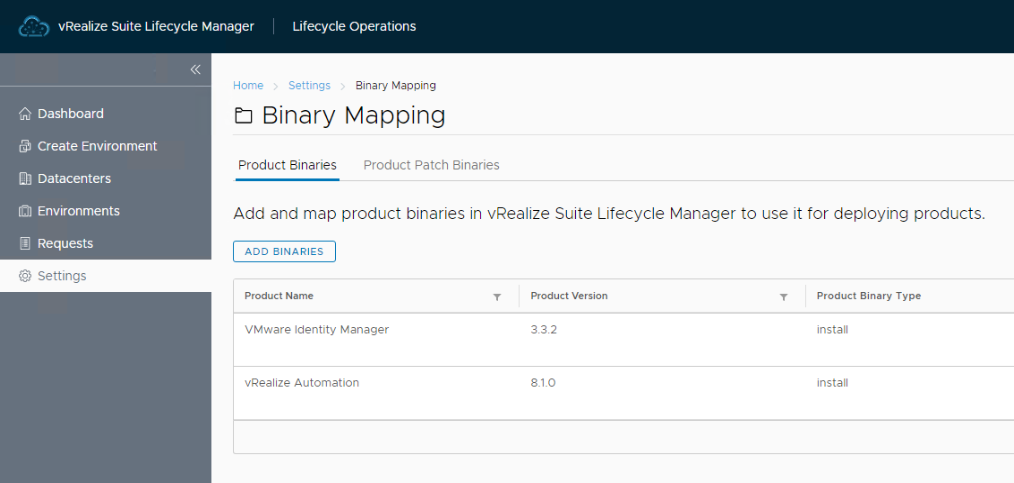
- Binary Mapping – List
Selected product binaries will be listed.
- Navigate to Certificate
Navigate to Locker > Certificate.
Click “Generate CSR”.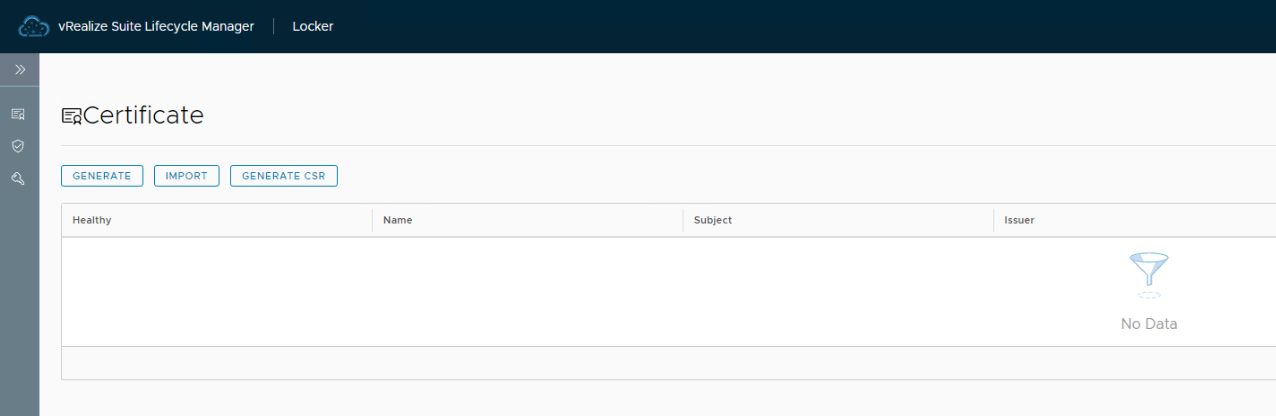
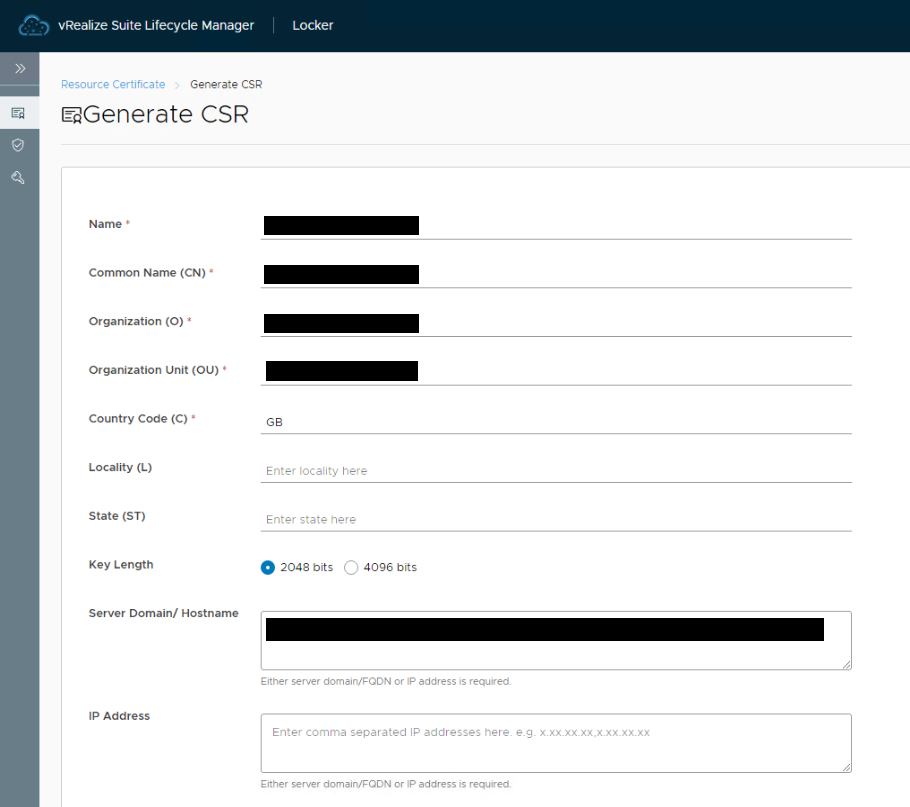
- Certificate – Generate CSR
Populate each field with relevant values. The “Server Domain/Hostname” field needs to have the load balanced FQDN and FQDN of each node.
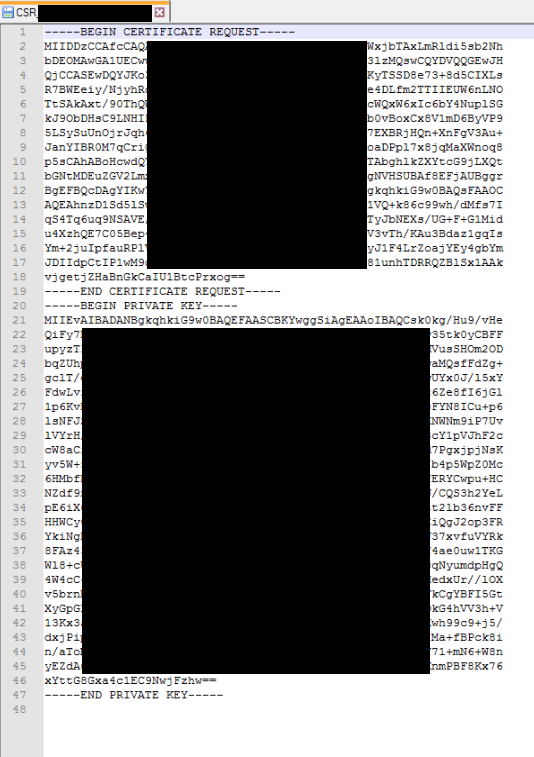
- CSR File
vRLCM will supply a CSR file which will look like below. Take the CSR file, extract the certificate request and submit the certificate request to your CA to get a signed certificate.
- Certificate – Import
Using the vRLCM generated CSR file and CA signed certificate create a PEM file to import into vRLCM.
- Repeat
Repeat steps 14 through 16 for each certificate you need or want to create. You will need a certificate for vIDM and vRA plus optionally vRLCM.
- Certificate – List
Generated certificates will be listed.

Be First to Comment