This blog post is part of the Install vRealize Automation 8 using vRLCM series and focuses on the install of VMware Identity Manager (vIDM).
vRA8 simplifies the application stack versus vRA7 by doing away with the Windows IaaS components in place of a self contained appliance. While this is true it does add it's own complexity.

vIDM (VMware Identity Manager) is embedded in vRA 7 appliance, which when vRA is clustered automatically clusters vIDM.

In vRA8 it is a separate appliance. There is no point clustering vRA8 appliances and leaving vIDM as a single appliance so this should also be clustered. To do so is where the extra complication comes in. Multiple vIDM appliances must be configured with a load balancer in front.
I started off installing vRLCM 8.0 but part way through upgraded it to vRLCM 8.1. You may notice some differences in the screenshots but the process remains the same for both versions.

Check out the vRLCM 8.0 release notes, especially the known issues which details the removal of a file otherwise services may not start post reboot.

Check out the vRLCM 8.1 release notes too. One of the benefits of vRLCM 8.1 over 8.0 is the ability to change the vRLCM certificate in the GUI. Despite VMware's vRLCM 8.1 docs detailing the old method.
Documentation for vIDM is lacking and contradictory. Especially around clustering, load balancing and internal vs external database.

I have therefore listed some useful vIDM documentation below:
- Install and Configure VMware Identity ManagerUsing a Load Balancer or Reverse Proxy to Enable External Access to VMware Identity ManagervRA Large Deployment ConfigurationvRealize Automation 8.1 Load Balancing
vIDM Install
Estimated Time: 30 minutes
This post provides the step by step instructions needed to install VMware Identity Manager (vIDM) because this is required for vRA.
- Load Balancer
Firstly setup your load balancer of choice according to the documentation. Initially make sure only the first node is enabled. Most importantly disable service/healthcheck monitoring until installation is complete.
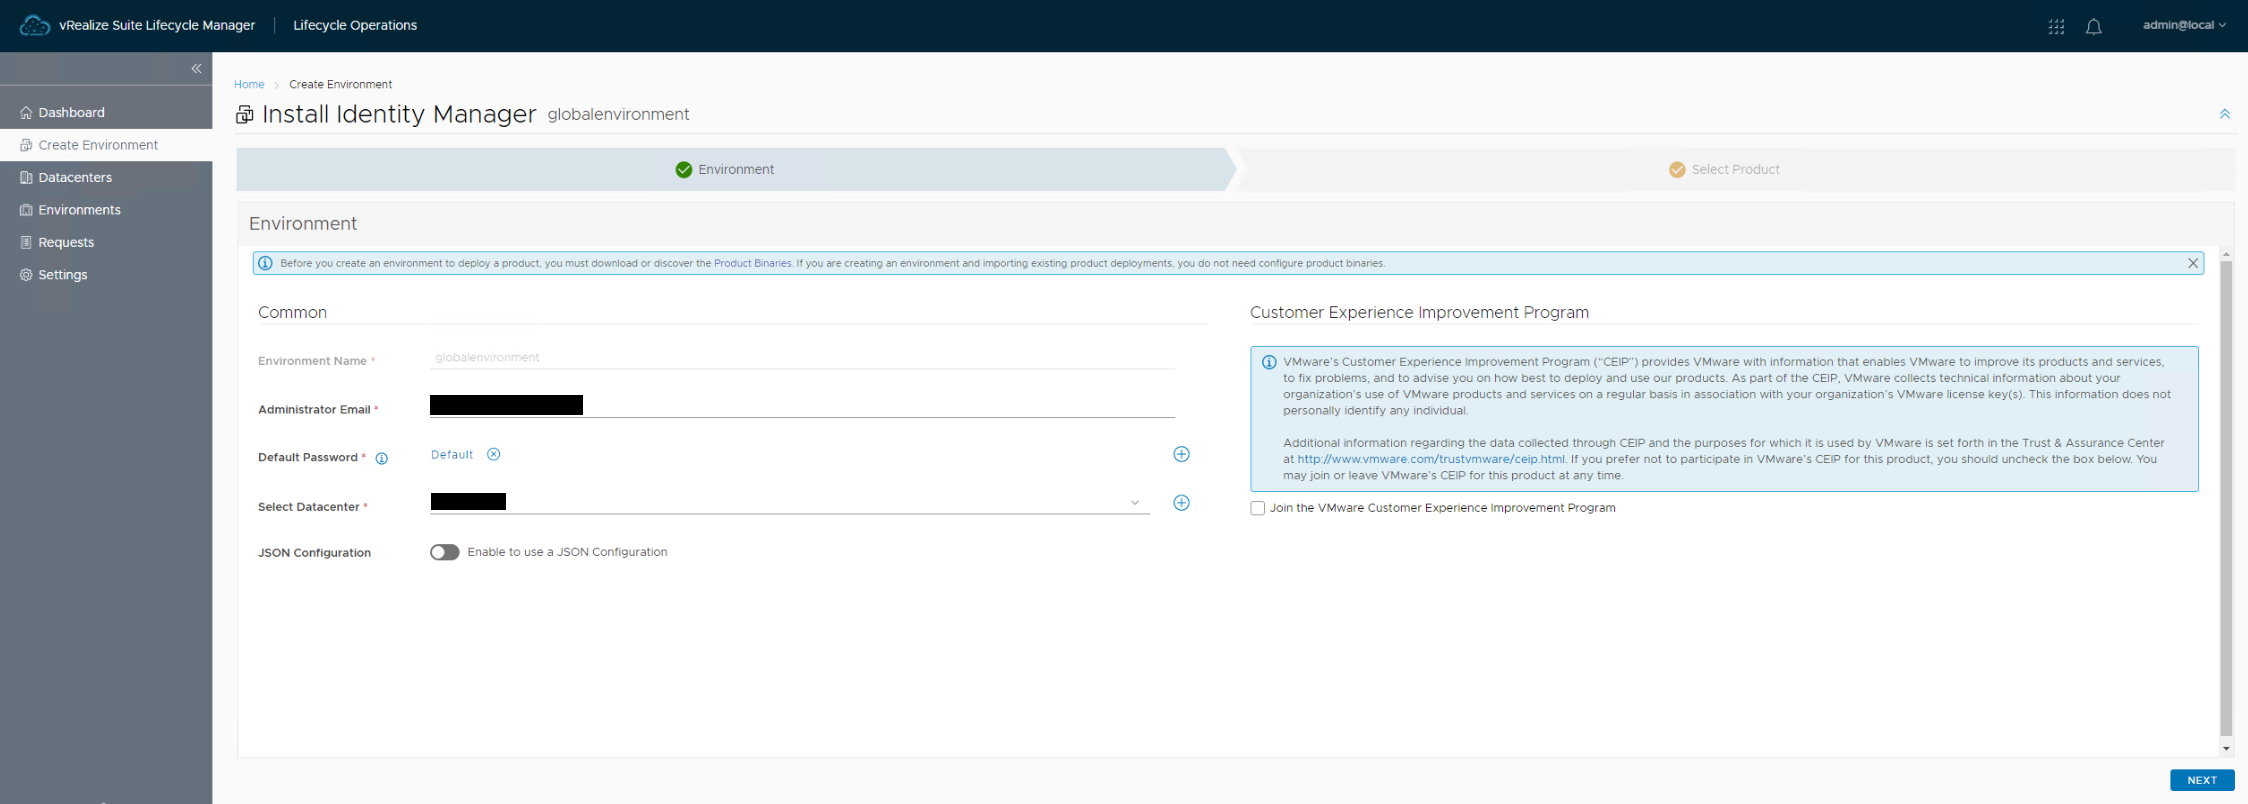
- Create Environment
Navigate to Lifecycle Operations > Create Environment to kick off the vIDM install. Provide an email address, select the Datacenter and setup a Default password.
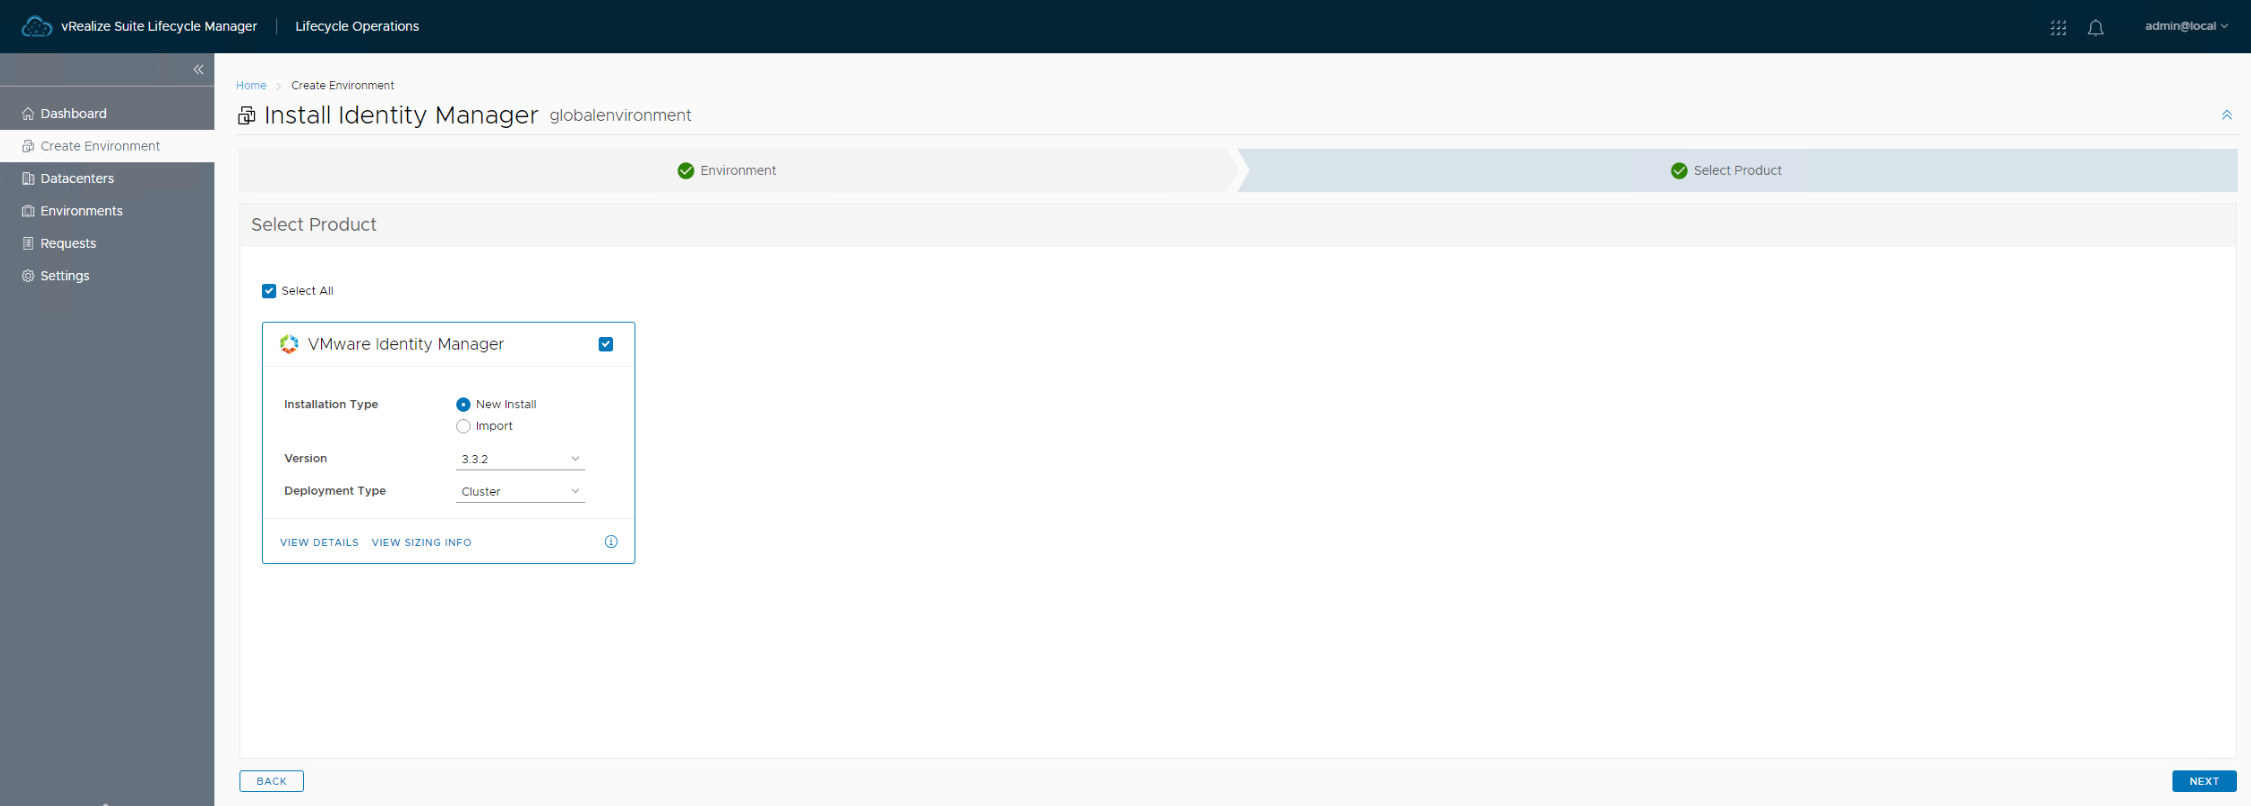
- Select Product
Select “New Install”, version and “Cluster” as deployment type.
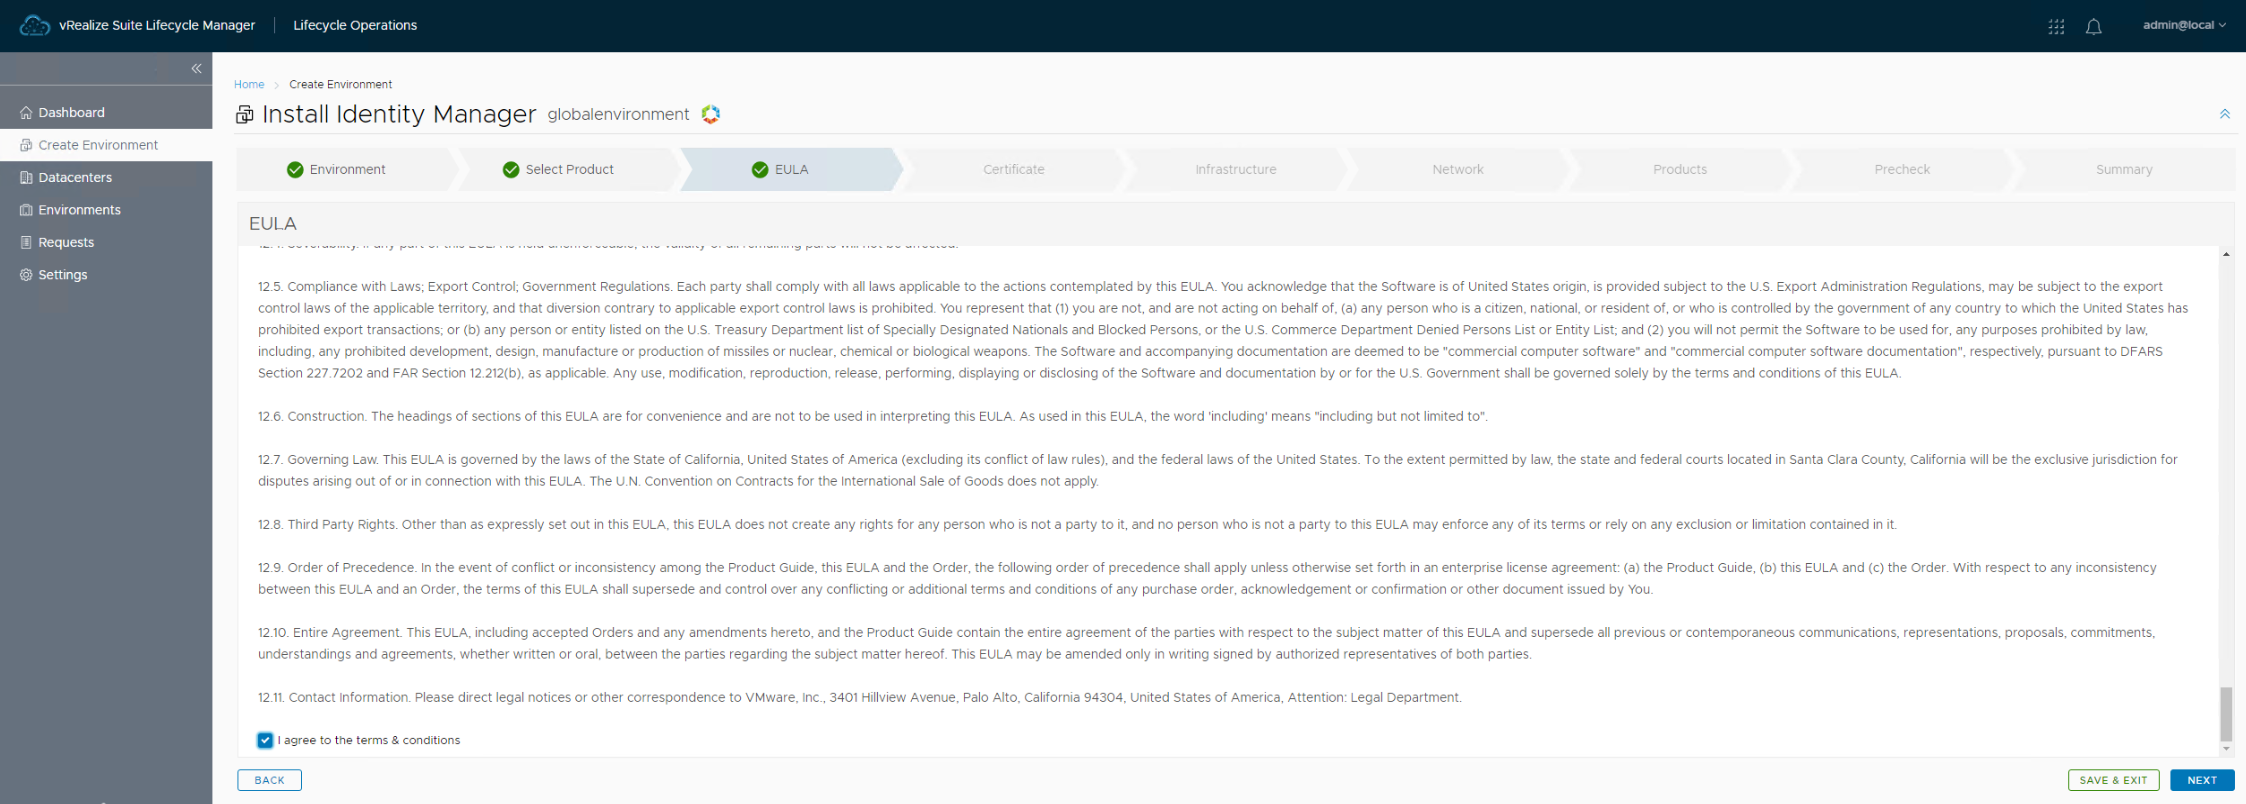
- EULA
After that accept the EULA so you can continue.
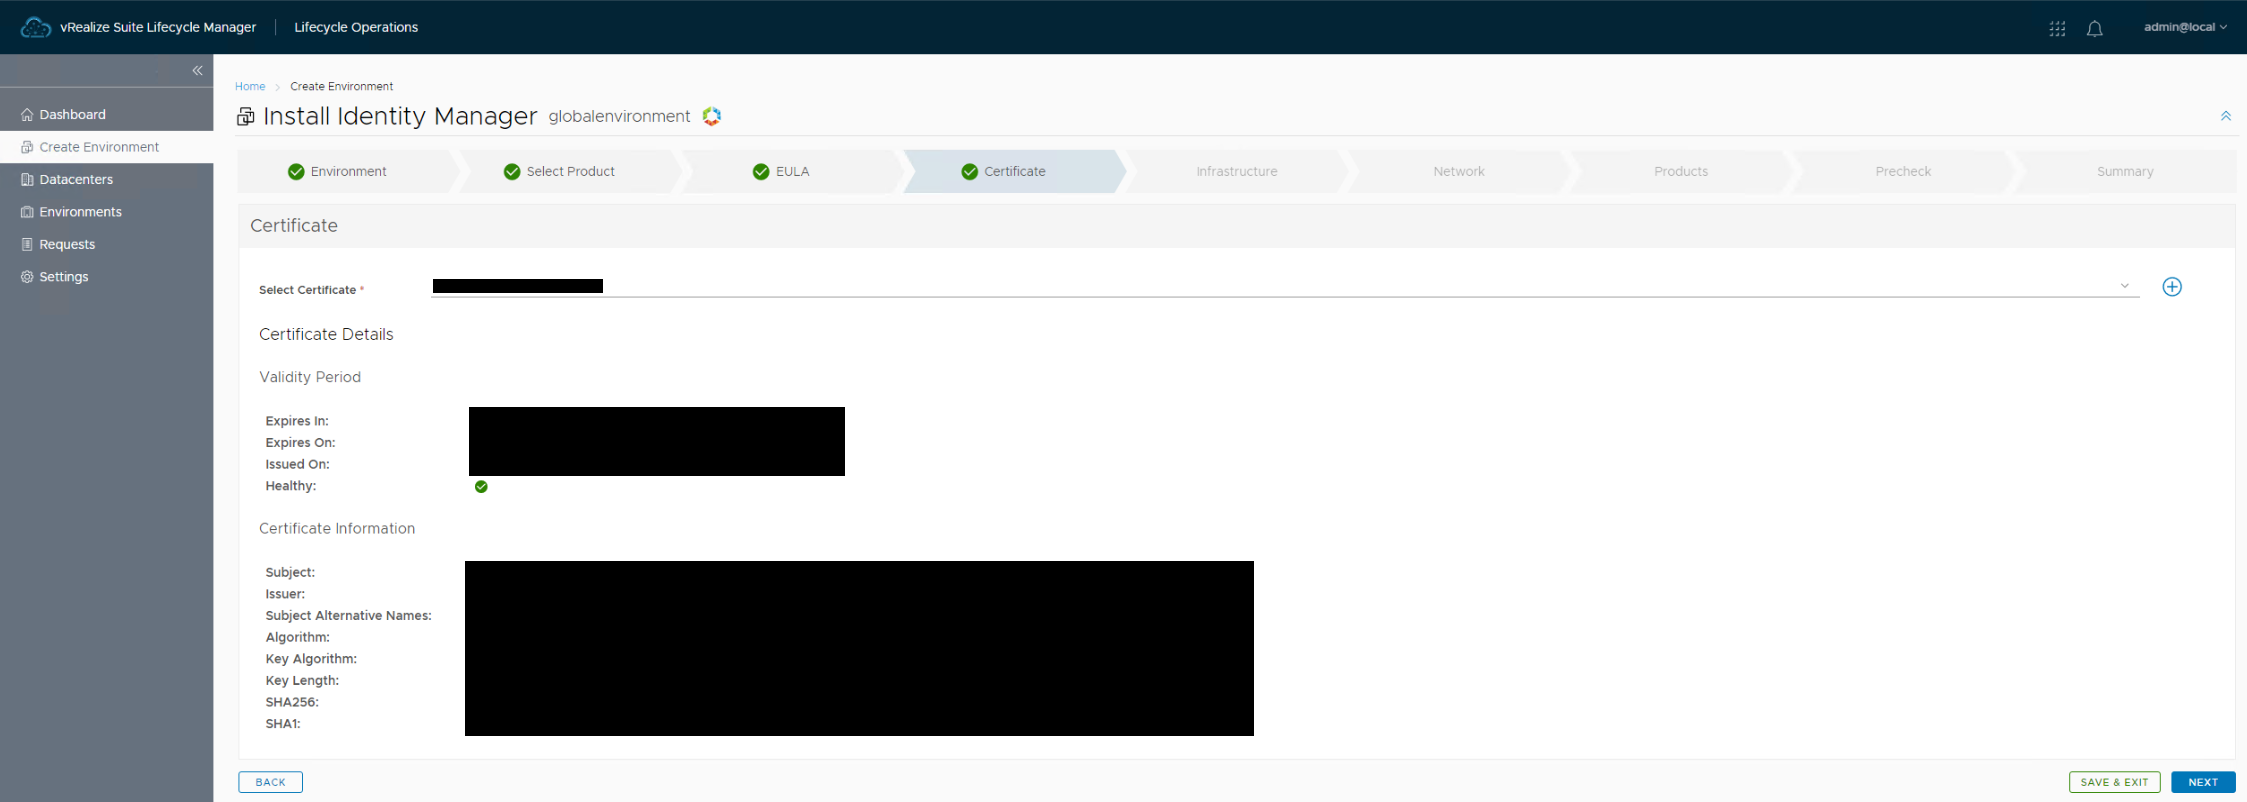
- Certificate
Select the certificate generated for vIDM from the available list.
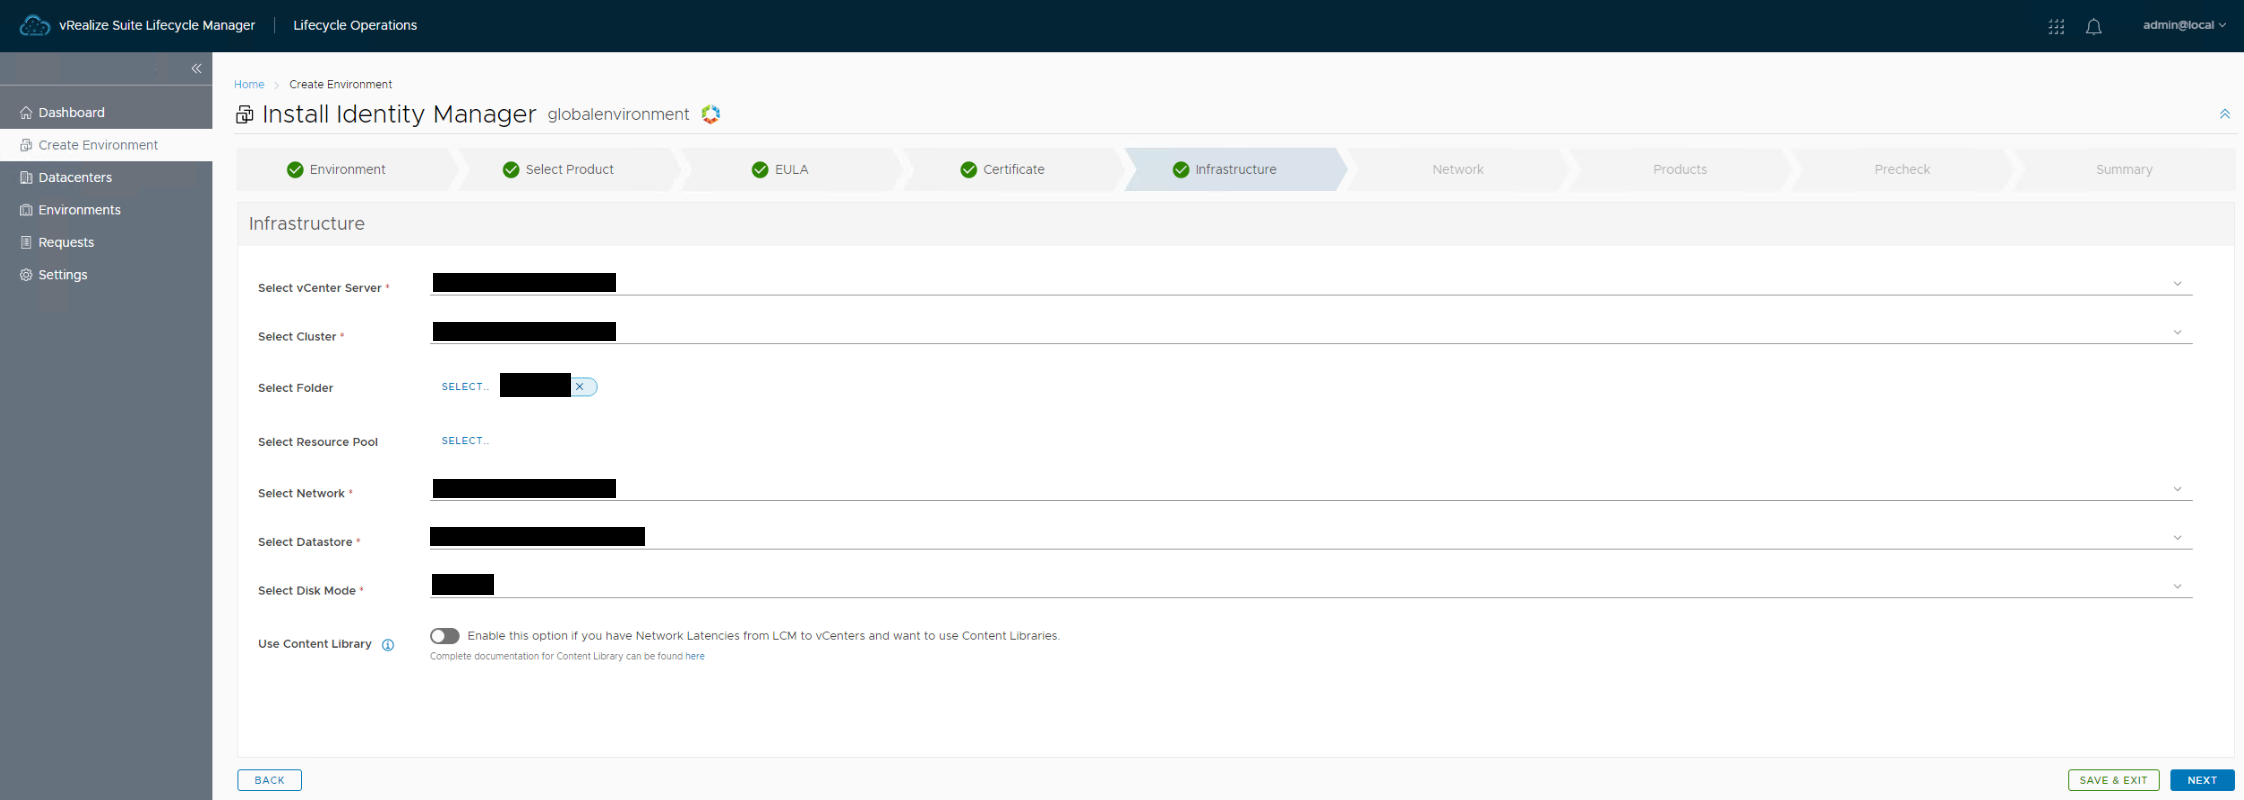
- Infrastructure
Select required values for each option, vCenter for instance. This is so vCenter can deploy the vIDM VMs.
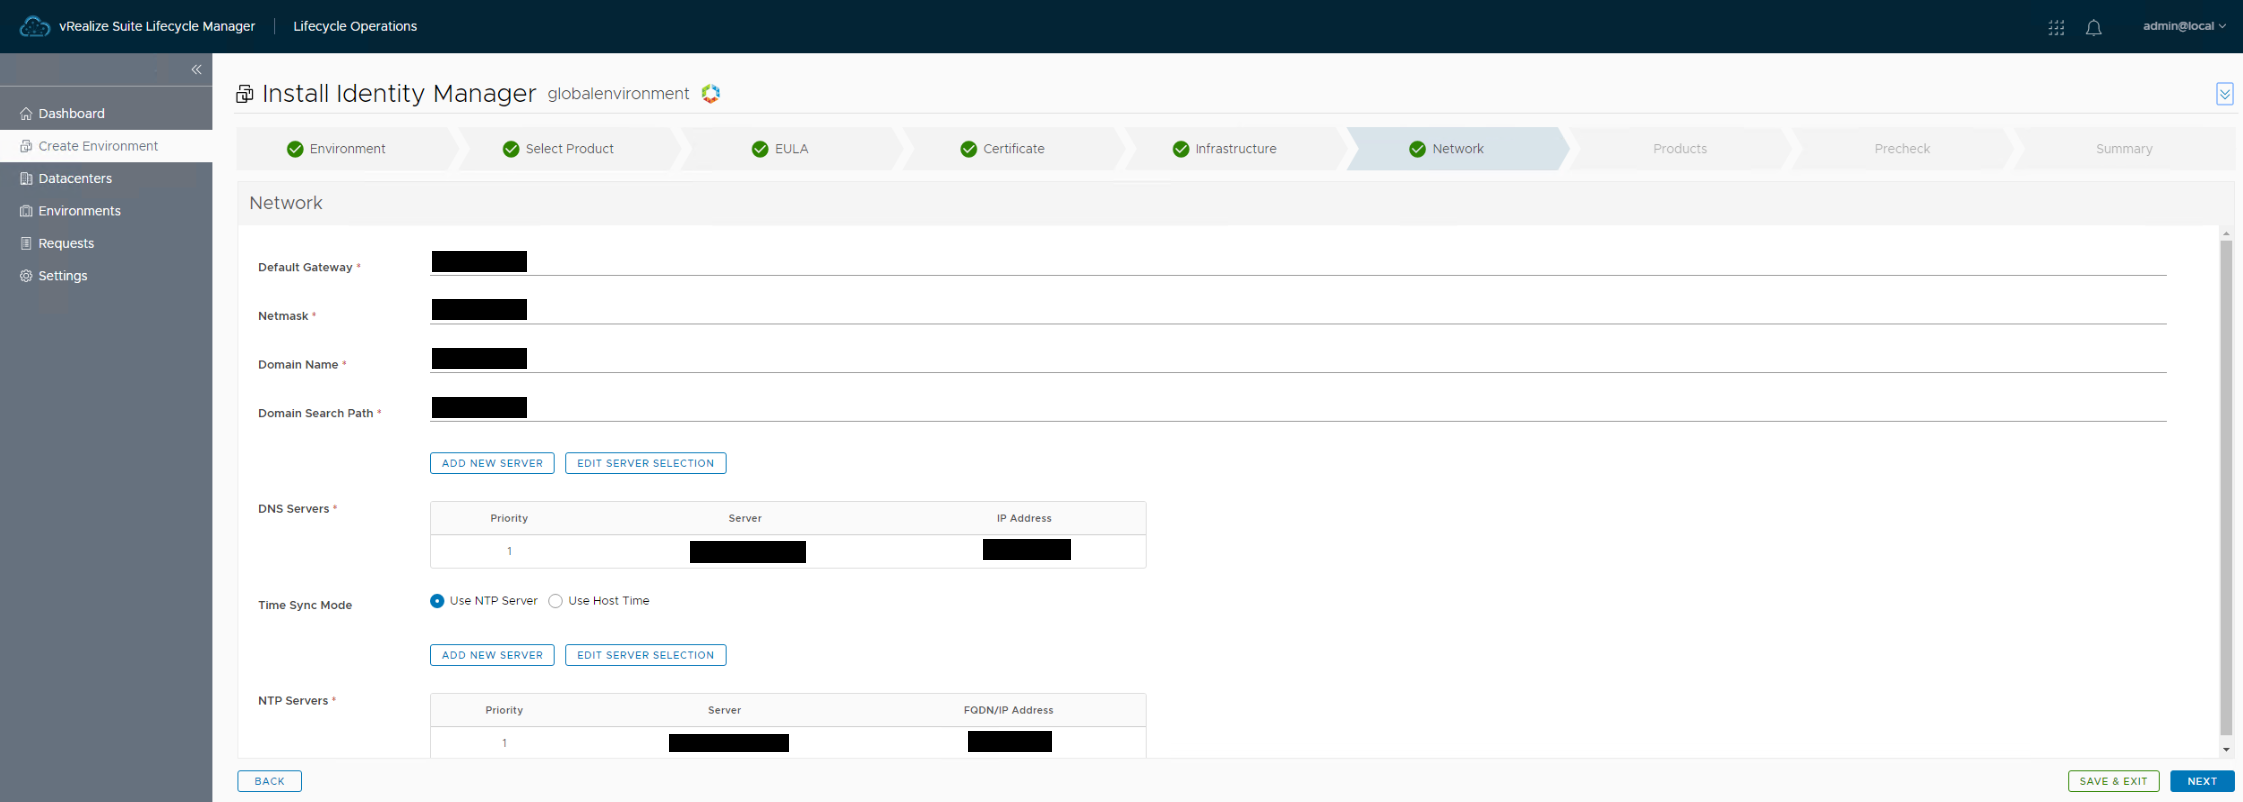
- Network
Provide required values for each option, Default Gateway for instance.
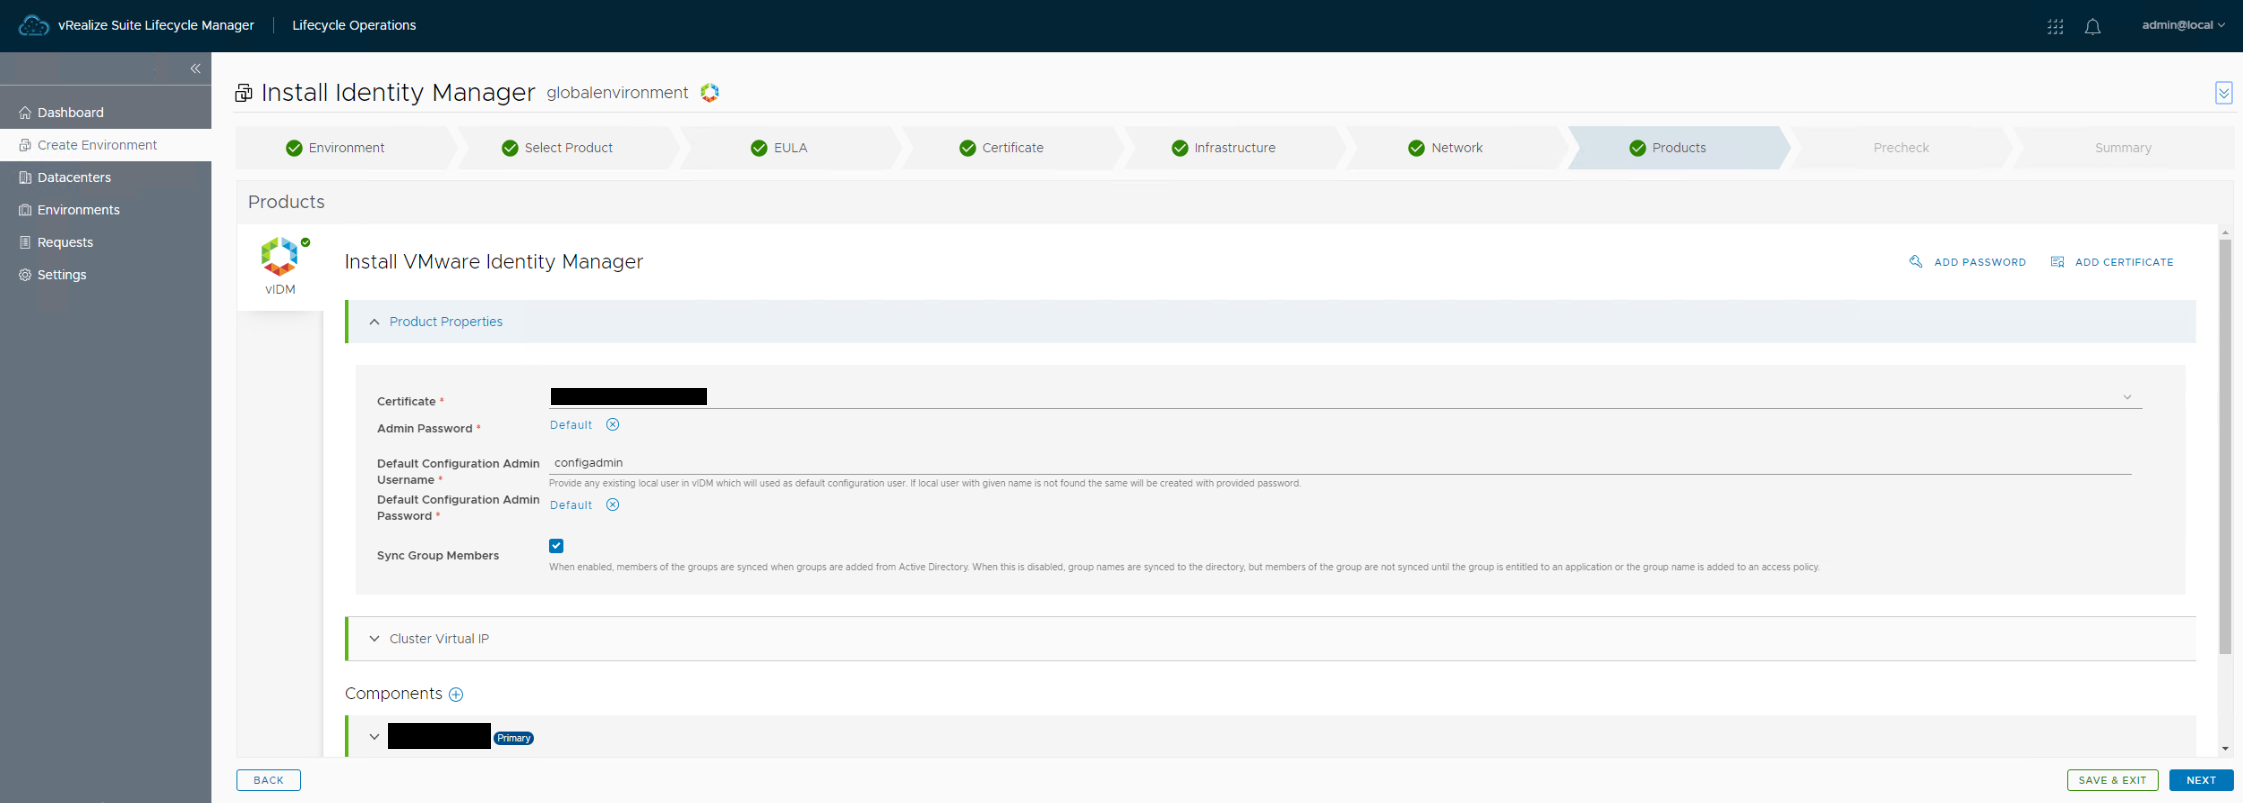
- Products
Provide required values for each option, Sync Group Members for instance. This section details the hostname and IP information for each node along with the cluster configuration.
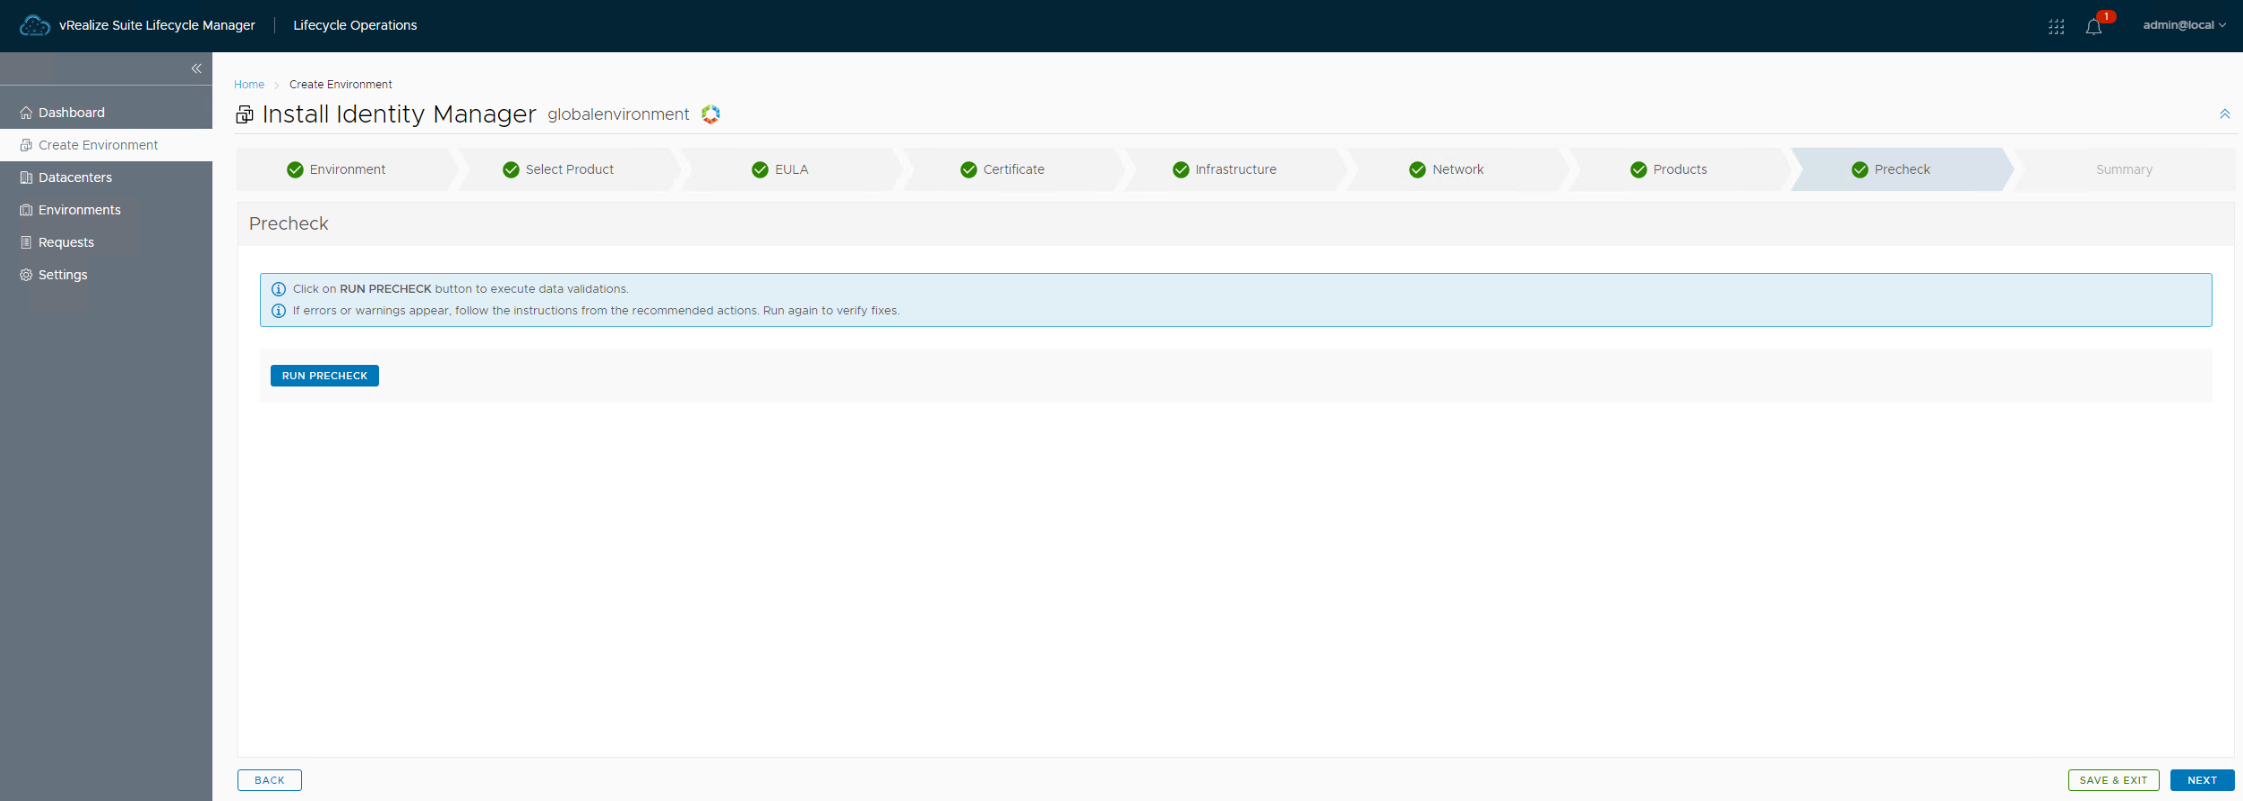
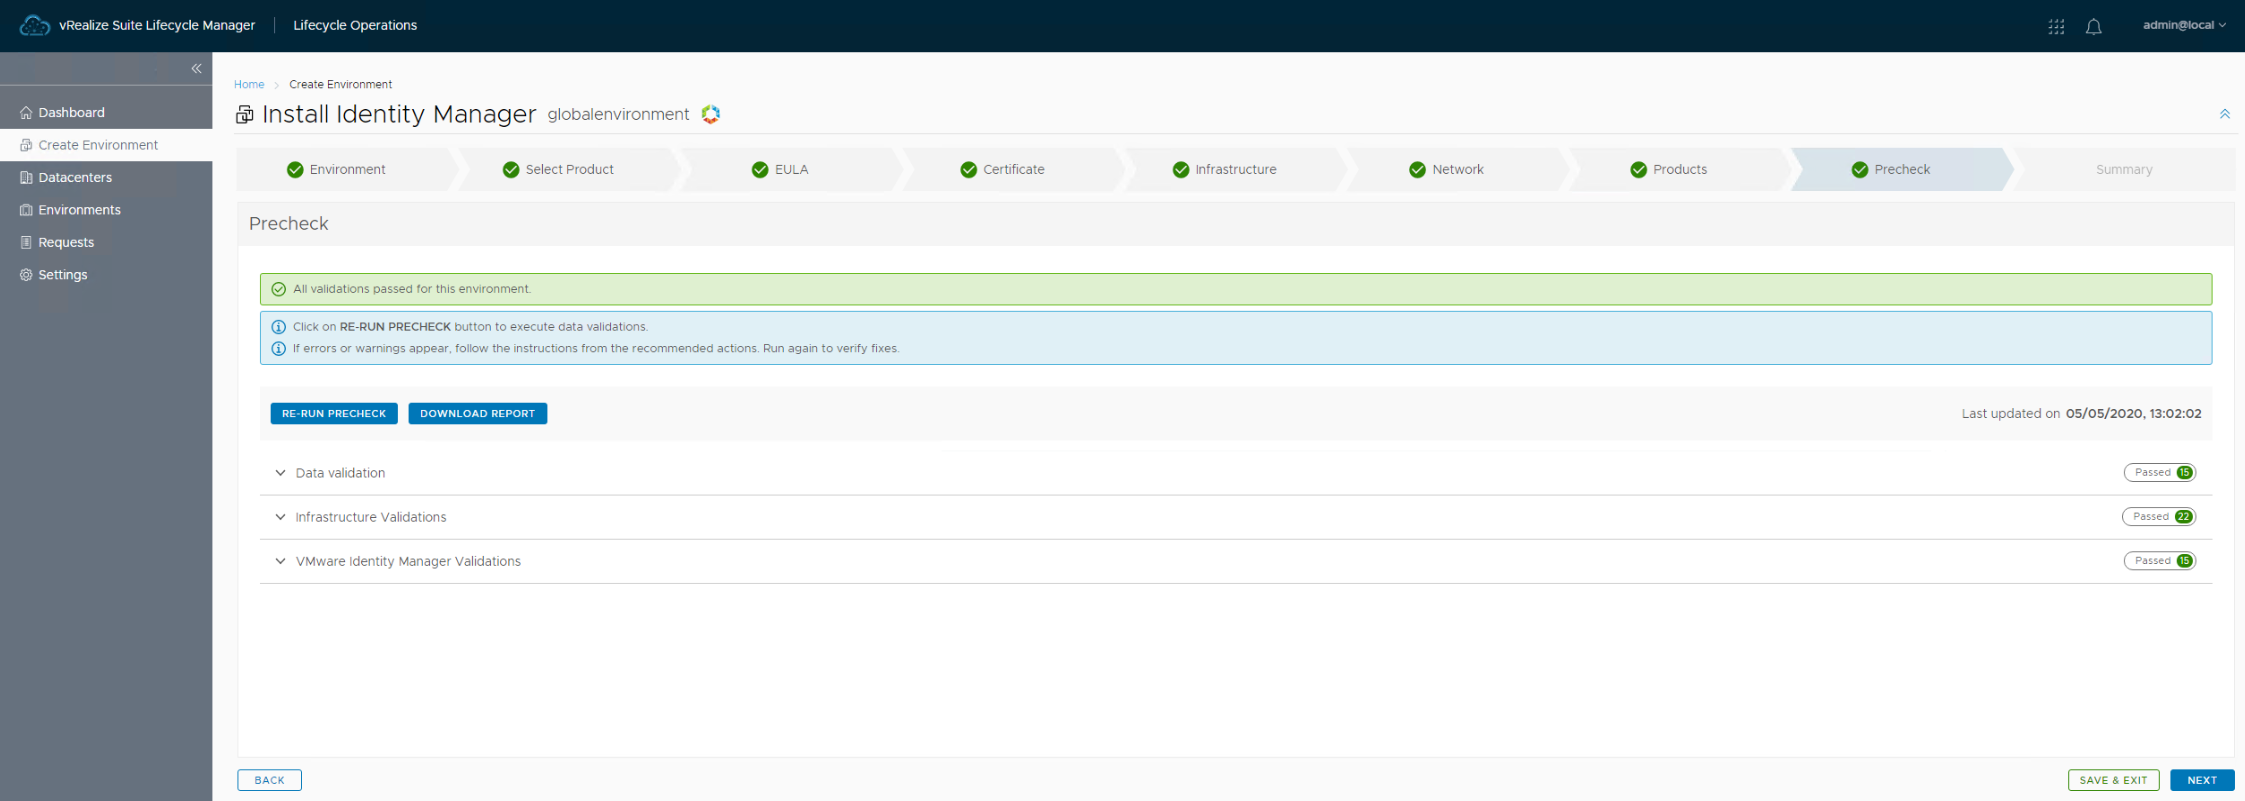
- Run Precheck
Run a check of all settings and selected values.
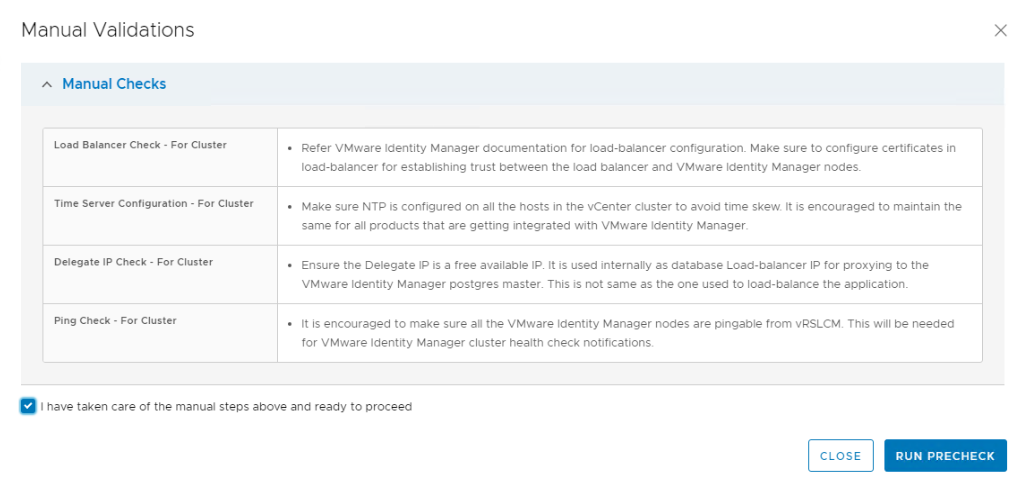
- Manual Validations
Manually confirm the below actions because vRLCM doesn’t.
- Precheck Success
Everything should certainly come back successful.
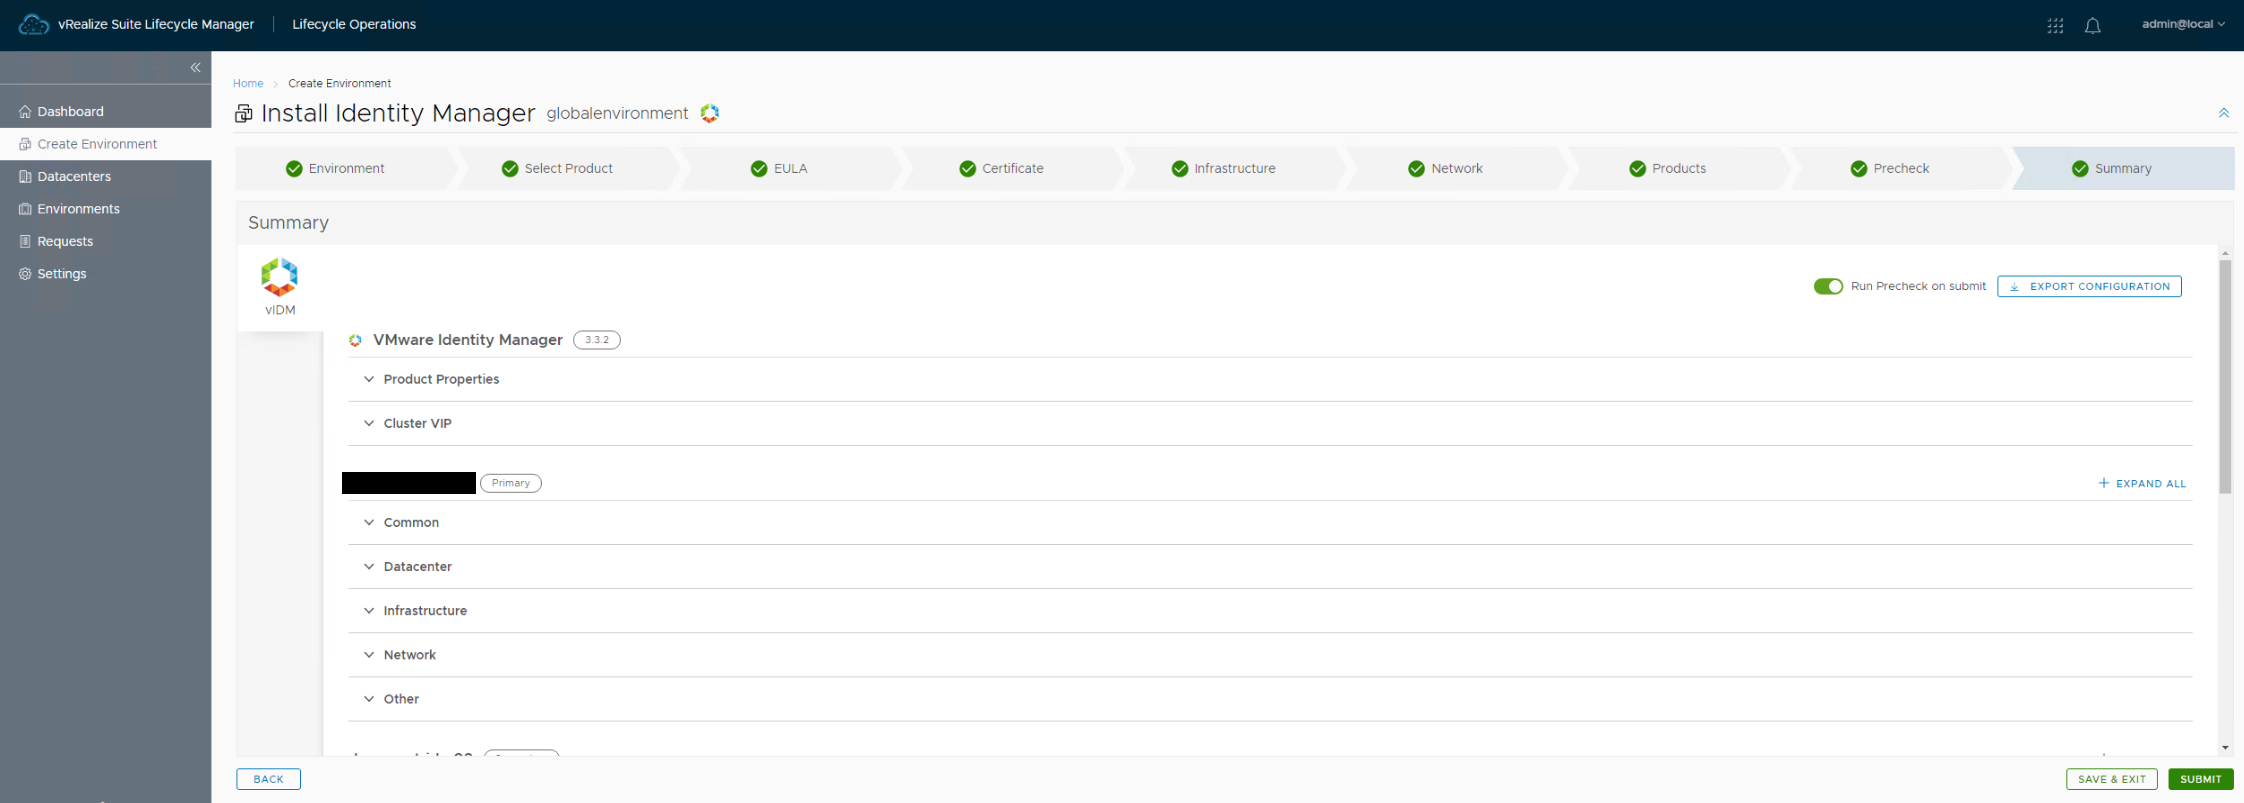
- Summary
Finally check all details are correct and then proceed with install.
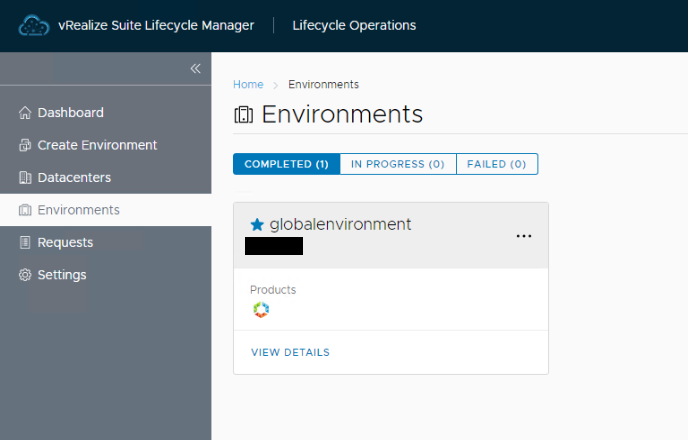
- Complete
In conclusion you will see vIDM installed as the “globalenvironment”.
With such a deployment in a cluster, how many cluster nodes can be lost for the VIDM to stop working?
I have a question: after deploying via vRealize Lifecycle Manager (vRLCM), is the vRLCM virtual machine itself required for VIDM to function, or can I turn it off?