SSL VPN is a brilliant under utilised feature of VMware NSX. Easy to setup, allowing users access to an environment, you can even do more advanced setups by coupling with the context-aware micro-segmentation features of NSX.
This tutorial will explain how to setup a NSX SSL VPN. NSX 6.4.5 was used for this tutorial, other NSX versions follow the same setup but you may notice some differences as you go along.
You can use an existing NSX ESG (edge services gateway) or create one specifically for the VPN. Open the ESG and navigate to Configure -> Certificates.
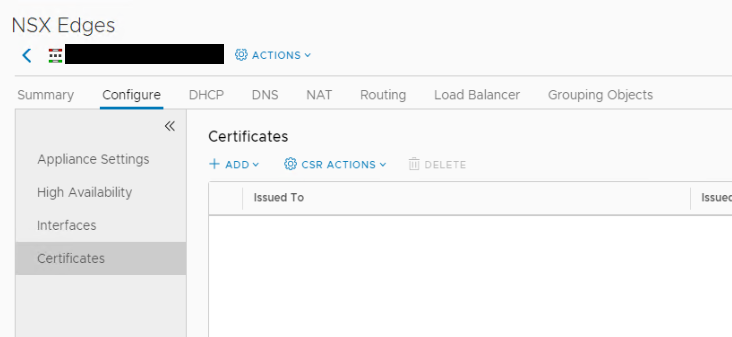
Click CSR ACTIONS -> Generate CSR, populate fields with required values before pressing OK.

Click on the generated CSR to see the details.
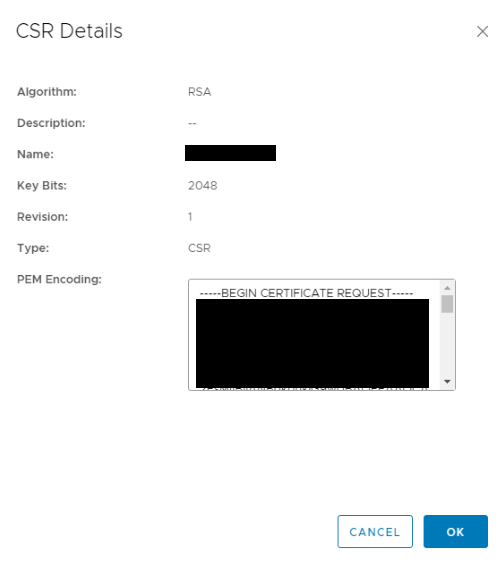
Copy the certificate request to a file and save as {cert}.csr ready for submitting to a CA.
Run the command: certreq -submit -attrib "CertificateTemplate:VMware" {cert}.csr {cert}.cer
Click CSR ACTIONS -> Import Certificate, paste the contents of {cert}.cer and press OK.

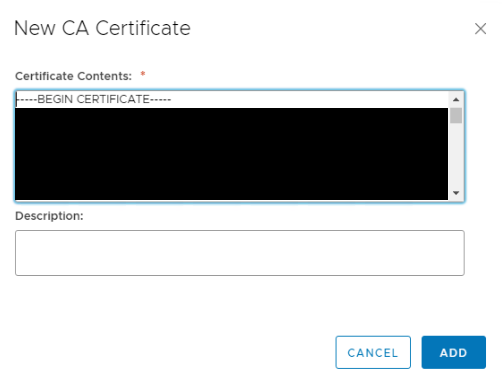
Click ADD -> CA Certificate, paste the CA certificate and press OK.
Certificates should now show the CA certificate and your generated signed certificate.

Now to setup the SSL VPN you need to use the flash based web client as even with vCenter 6.7 & NSX 6.4.5 the feature is not available in the HTML5 UI.
Click Manage -> SSL VPN-Plus and select Server Settings.
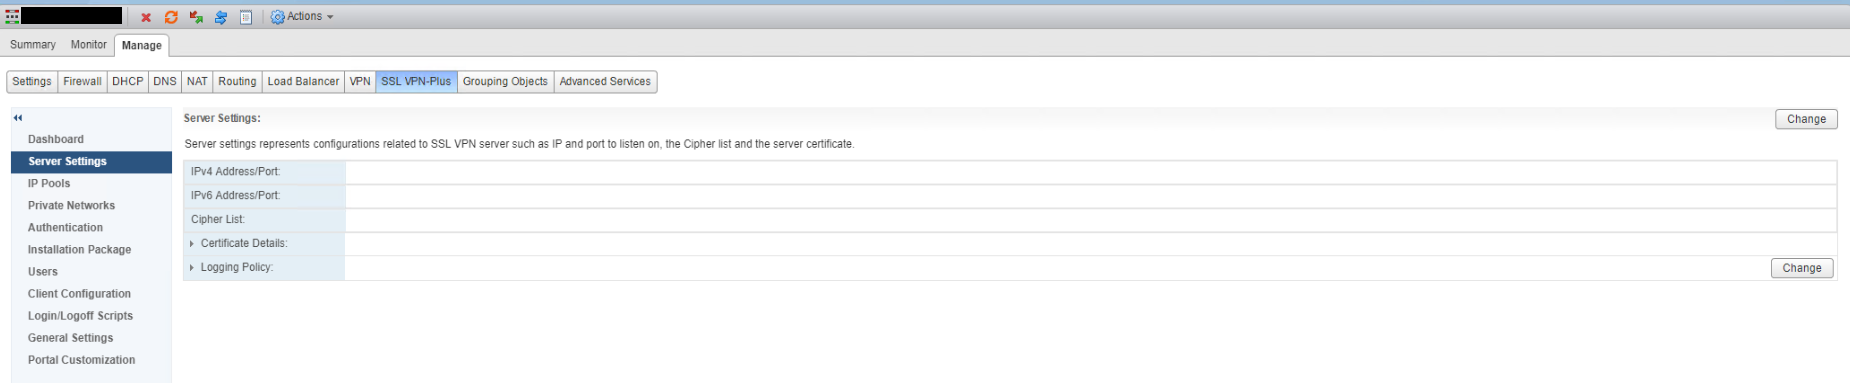
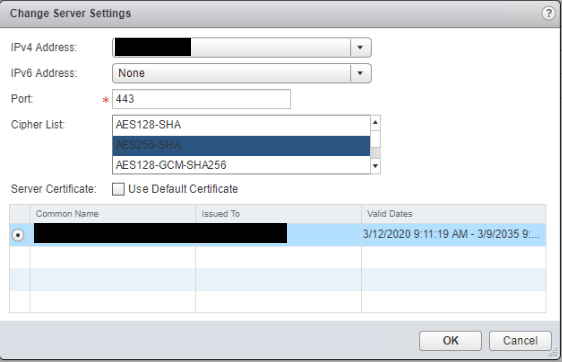
Add an additional IP address to the ESG if required before clicking “Change” to edit the server settings. Select the IP address you want to bind to the service along with the port and select the previously generated certificate before pressing OK.
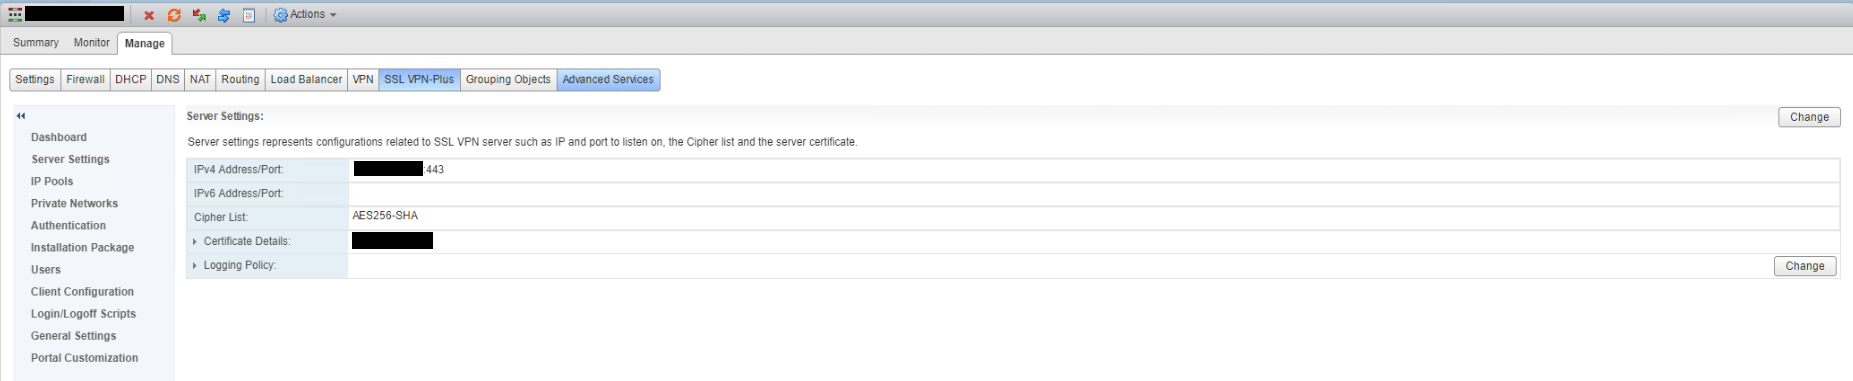
Server settings will now show the updated settings.
Select IP Pools.
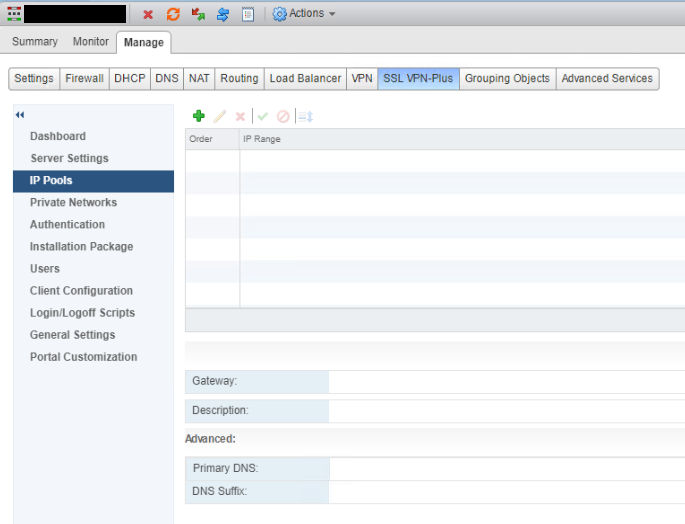
Click + to add a new pool, enter values for IP Range, Netmask, Gateway & DNS then press OK.

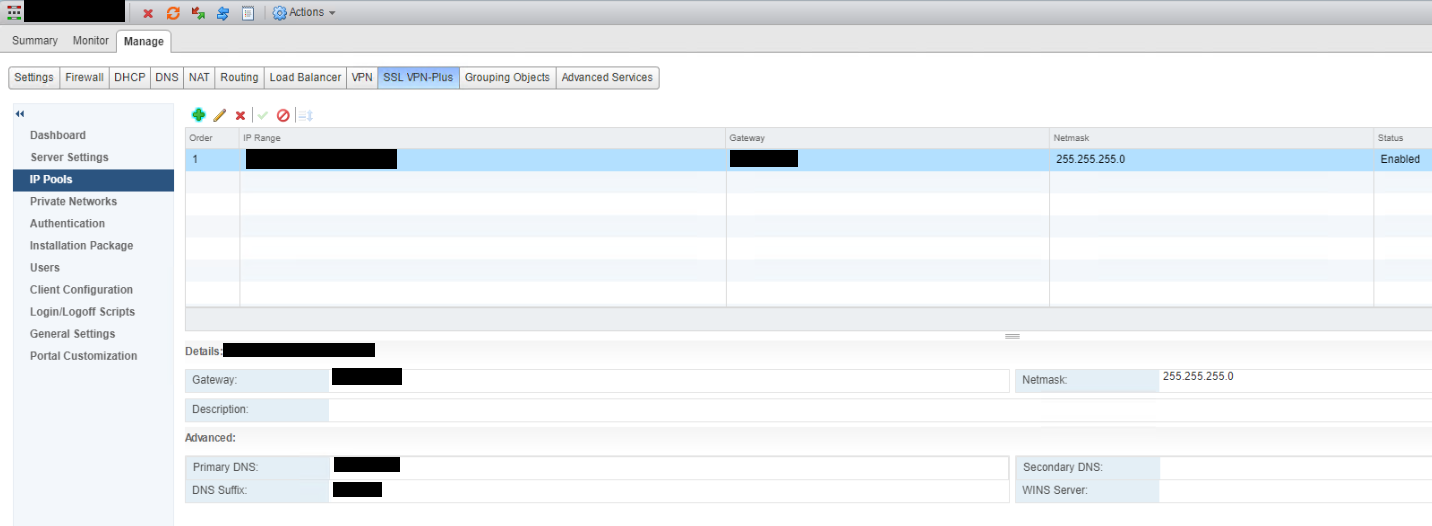
The configured IP pool can now be seen.
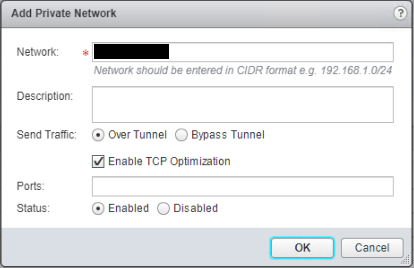
Select Private Networks.

Click + to add a new private network, enter CIDR value for Network, select to Send Traffic “Over Tunnel” and tick “Enable TCP Optimization” then press OK. Repeat for any additional required networks.
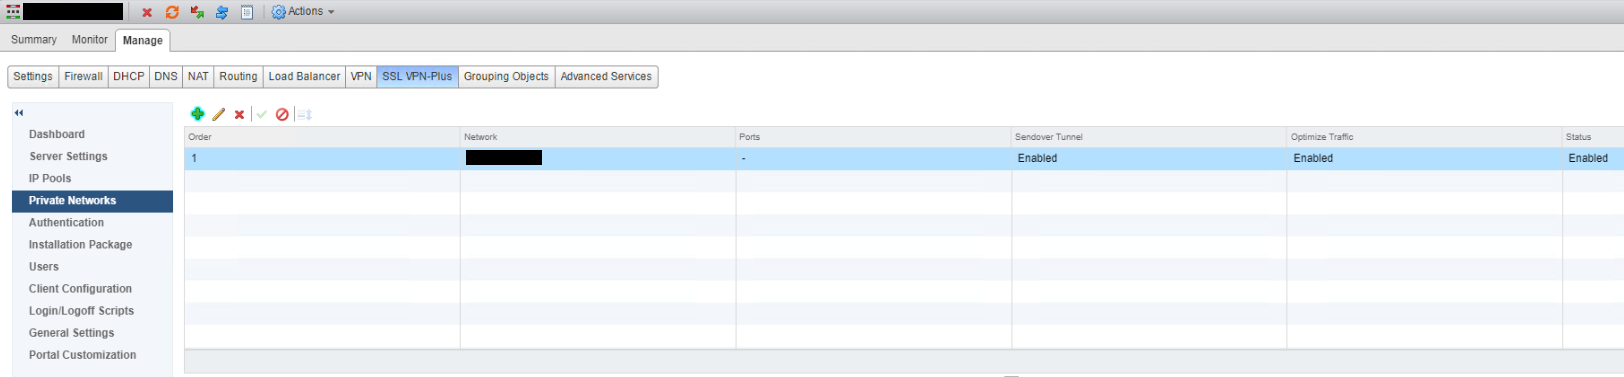
The configured private network(s) can now be seen.
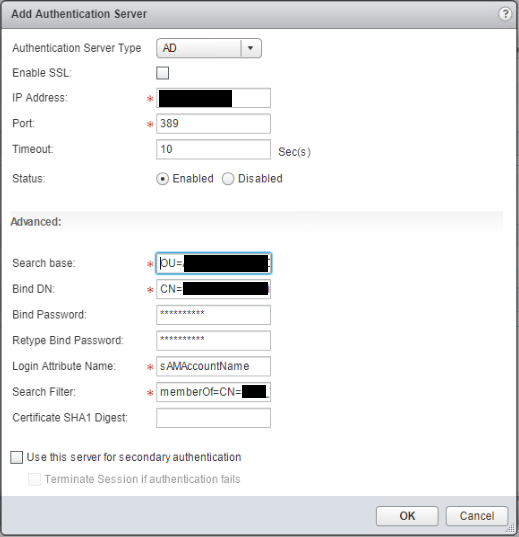
Select Authentication.

Click + to add an authentication server. Select the required Authentication Server Type such as “AD”. If authenticating against AD then populate values for IP Address, port, Search base, Bind DN, Bind Password & Login Attribute Name. Optionally populate Search Filter (E.G. memberOf={Group DN}) to limit users. Once populated press OK.
You should really use LDAPS (port 636) instead of LDAP (port 389) by ticking the "Enable SSL" box. This encrypts the LDAP communication so AD information can't be inspected over the network.
There is however currently a VMware bug which means authentication will not work if you tick to "Enable SSL" so for now leave it unticked. Details to follow regarding the bug, it is an open case with VMware.
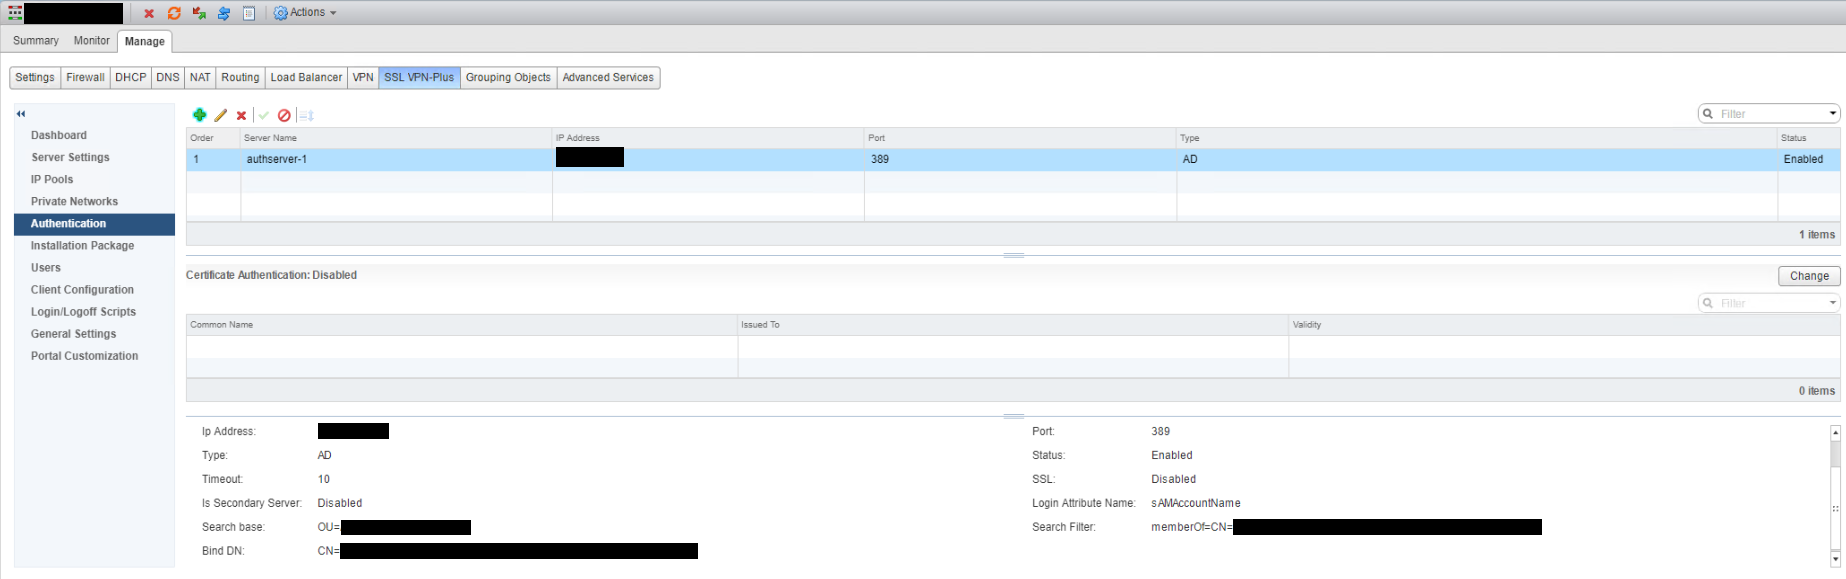
The configured authentication server can now be seen.
Select Installation Package.
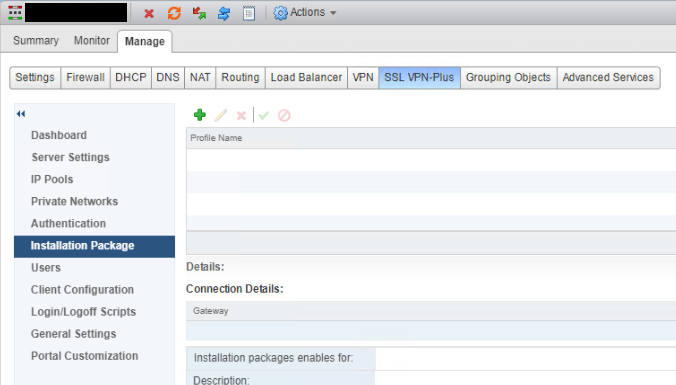
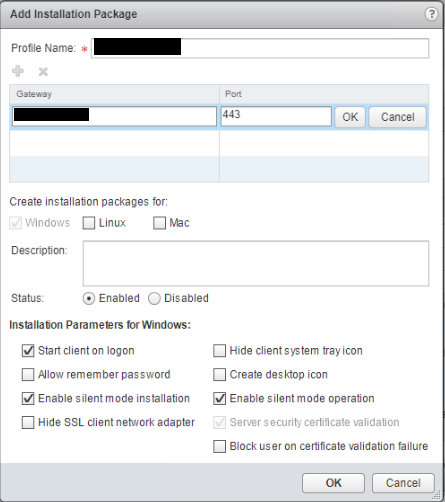
Click + to add an installation package configuration, enter values for Profile Name, Gateway (which should be a DNS entry) & Port. Tick the required Installation Parameters then press OK.
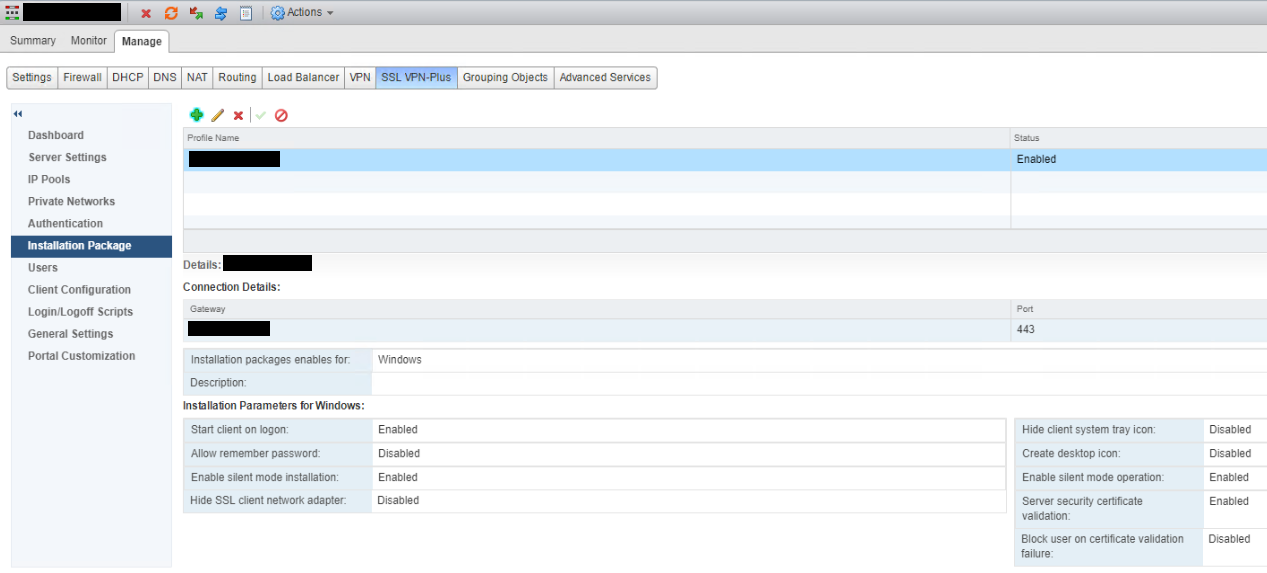
The configured installation package can now be seen.
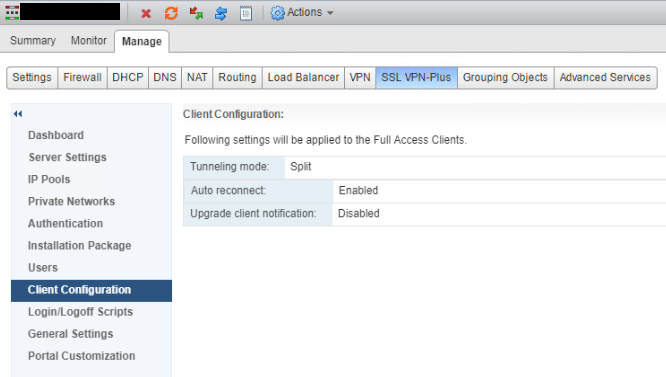
Select Client Configuration and change options to your requirements.
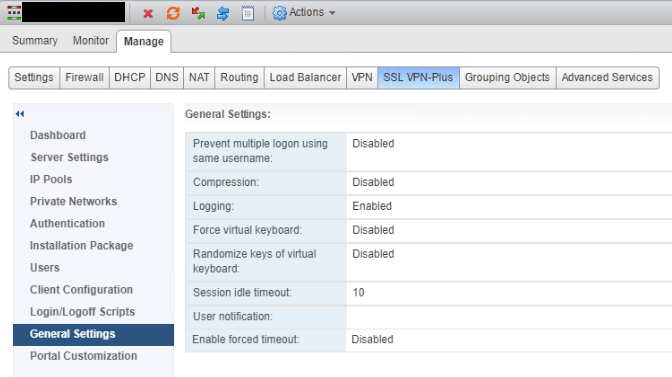
Select General Settings and change options to your requirements.
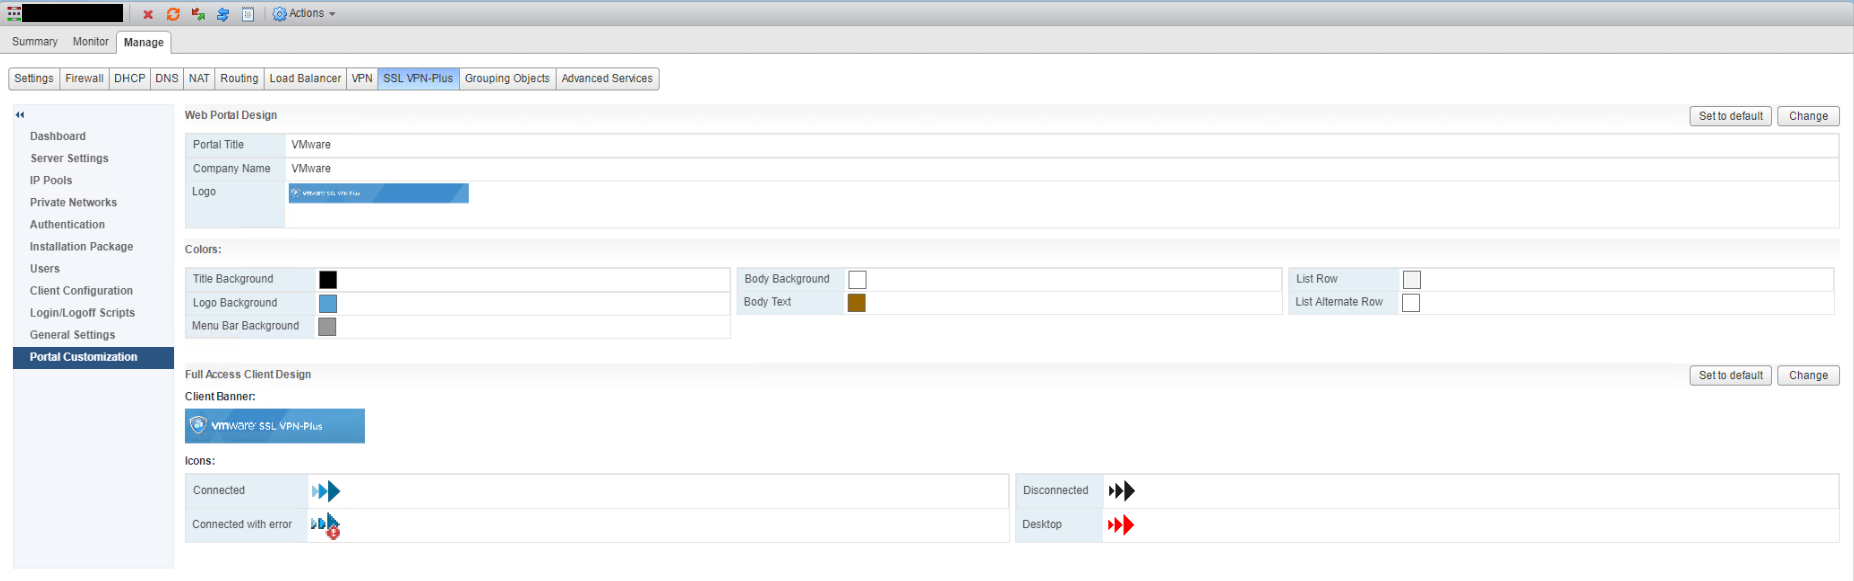
Select Portal Customization and change branding options to your requirements.
Select Dashboard. Make sure the SSL VPN is enabled.
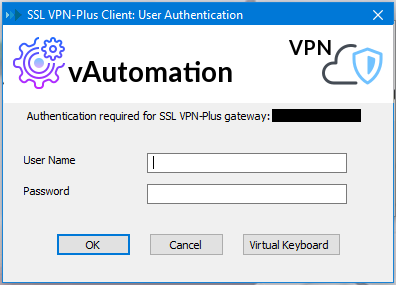
Now you are ready to navigate to your configured gateway address and port, login and download the SSL VPN Client. Once downloaded, install and then reboot your machine. After the reboot you will see the SSL VPN client in your taskbar, open it to connect and login to the VPN.

How are you managing your implementation now that flash is depreciated ?
Hi Jason
Thanks for taking the time to comment.
Yes rather annoyingly VMware have not transitioned this feature to the HTML5 UI and it doesn’t look like they are going to either. VMware have provided an article: https://kb.vmware.com/s/article/79929
You will need to manage it via the NSX API.
Cheers, Luke
Hi,
I have a question please.
Does SSL VPN exist in the NSX-T Datacenter version?
Yes it does, I believe you have to have min Professional license for it.
thank you for sharing this post